Engines are the heartbeat of boats and changing their oil regularly is paramount to keep them running smoothly. In the article “How to Change a Boat Engine Oil”, you’ll find a step-by-step guide that simplifies this seemingly complex task. As you navigate through, you’ll discover practical tips and precautions for handling the oil, the role and selection of appropriate tools, and the ideal oil changing intervals. Prepare to revitalize your boat engine’s health and performance and get back to enjoying blissful cruises on the water!

Understanding Why Oil Changes are Important
Changing the oil of your boat’s engine is as important as breathing for us. The oil in your engine is the lifeblood of its functionality, maintaining it properly is essential for the engine to run efficiently. The importance of this procedure can’t be overstated.
The role of engine oil in boats
The engine oil in your boat performs several critical functions. It lubricates the moving parts of your engine to reduce wear and tear, in effect, it acts as a cooling agent that takes heat away from the combustion cycle. It also keeps the engine clean by taking away any soot, metal, and dust particles that enter during the combustion process. Now, imagine if all these functions get impaired due to dirty or old oil, that’s right, the whole function of your boat will be at risk.
Risks of not changing boat engine oil regularly
Neglecting to change the oil in your boat’s engine can lead to serious complications. Over time, dirt and grime can build in the oil, which can damage the internal components of the engine. Without fresh oil to lubricate and cool these components, they can wear down, overheat, or even seize up, leading to expensive repairs or even the need for a new engine.
Understanding the recommended oil change intervals
Every boat engine has its own unique needs, and these extend to oil changes. However, a general rule of thumb is to change the oil every 100 hours of operation or at least once a year. It’s crucial to refer to the manufacturer’s guide for the specific spots and to stick to the recommended intervals.
Identifying the Right Tools and Supplies
Performing an oil change on your boat requires specific tools and supplies. Knowing what these are and having them handy is the first step towards a successful oil change.
List of essential tools for oil change
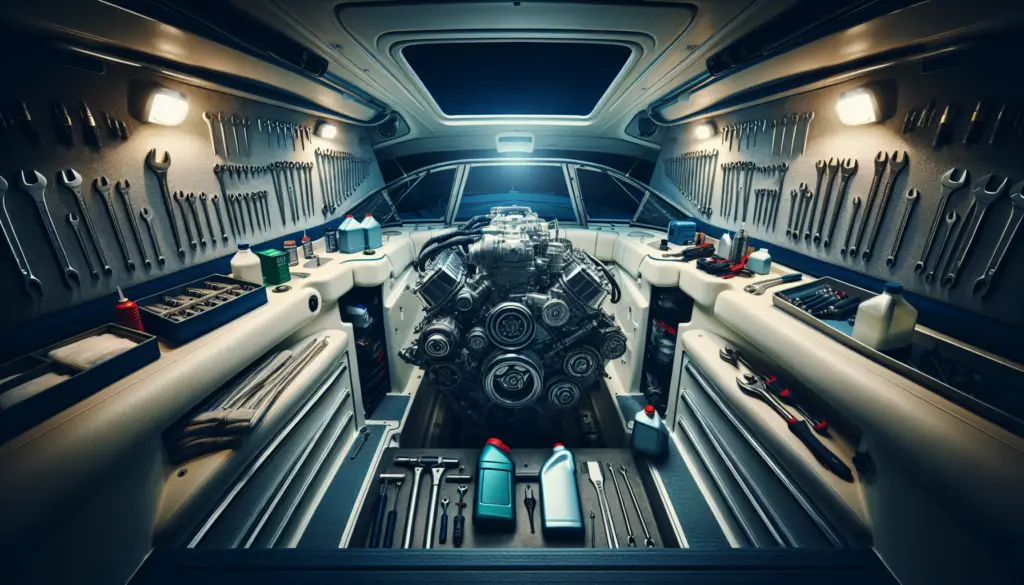
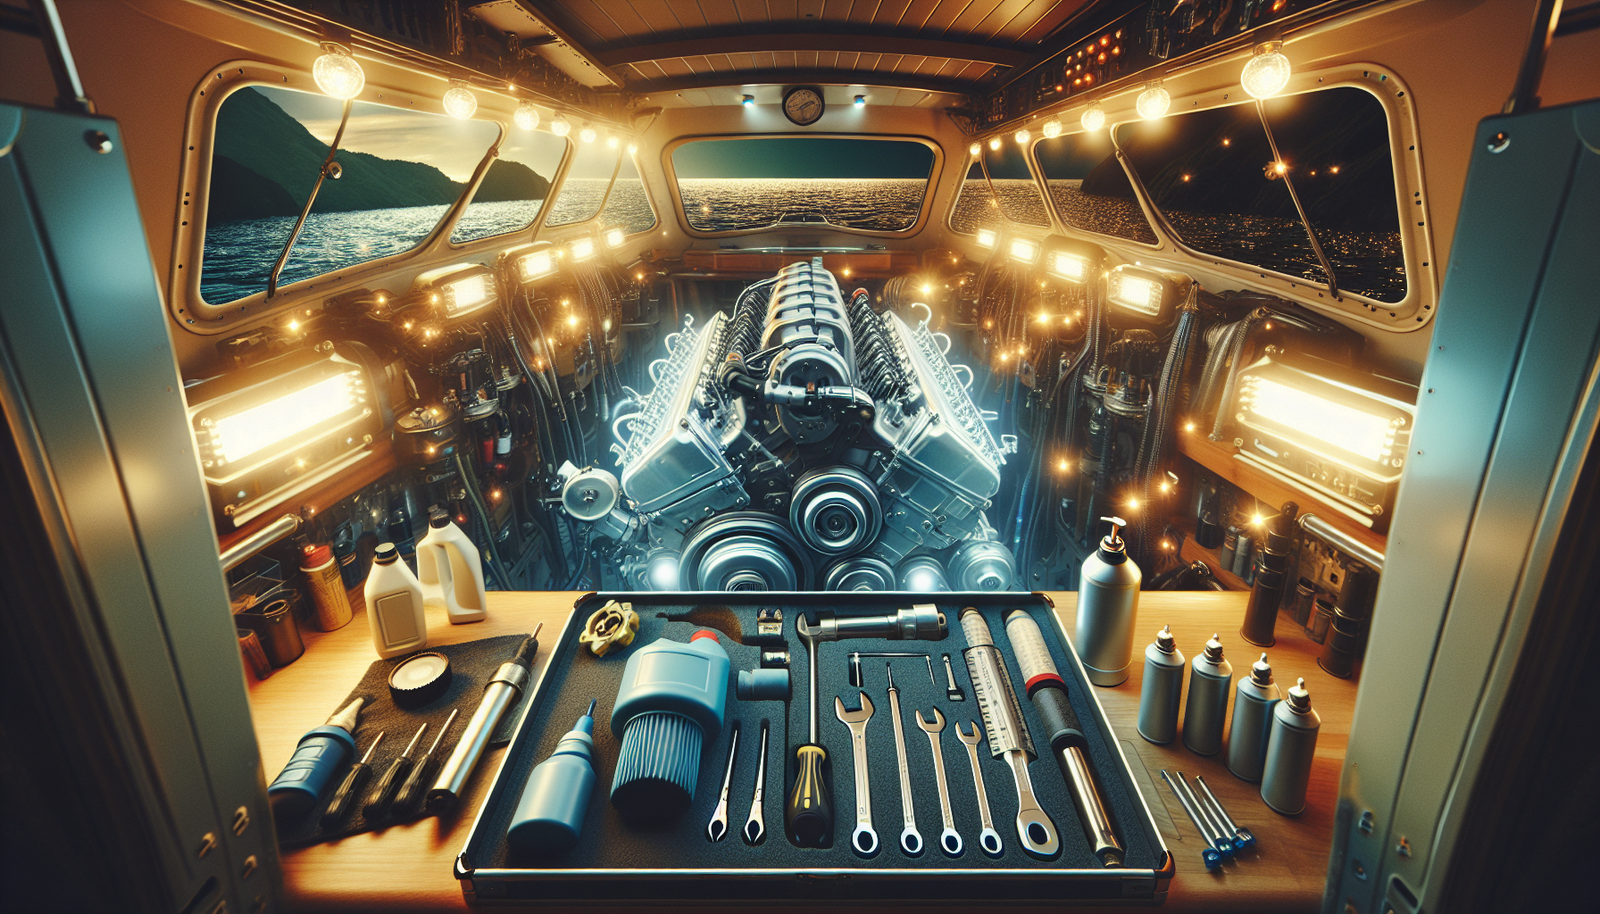
So, you want to change your boat’s oil? Here are the must-have tools: an oil extraction pump to remove old oil, an oil filter wrench for removing the old filter, wrenches or sockets to remove drain plugs, an oil container to catch surplus oil, and rags for cleaning up spills.
Choosing the correct type of oil for your boat engine
Don’t just pour any type of oil into your boat’s engine. Marine engines require specific types of oil, dependent on factors like whether your engine is a two-stroke or four-stroke, gasoline or diesel, inboard or outboard. Again, the owner’s manual of your boat is your best friend in determining the right oil.
Additional accessories needed for oil change
When changing your oil, also consider getting a new oil filter, oil absorbent pads to deal with spills, and rubber gloves to keep your hands clean.
Preparing the Boat for Oil Change
Before the oil change, preparation is key. It’s important to properly prepare your boat to ensure safety and efficiency.
Locating the oil drain plug
To start with, you need to locate the oil drain plug of your boat, which can be found at the lowest point of the oil pan beneath your engine. Some boats might have remote drain systems which make the process easier.
Warming the engine before oil change
Before draining, warm up the engine for a few minutes. Warm oil flows more easily, ensuring you get rid of as much of the old oil as possible. But remember, be cautious not to burn yourself with hot oil.
Properly securing the boat and ensuring safety
Safety is paramount. Ensure the boat is secure from tipping or moving unexpectedly. Make sure you are using the right tools to prevent slippage. Wear gloves and eye protection to avoid injury from hot oil or sharp objects.
Draining the Old Engine Oil
After the prep, it’s time to drain the old oil. This is where it starts to get messy, so make sure you’re prepared.
Step by step guide on how to drain the oil
Start by placing your disposal container at the ready, then using your wrench, carefully remove the drain plug. Allow the old oil to drain out into the container.
Caution and tips during the oil draining process
While draining the oil, patience is key. Let gravity do the work. Be careful with the drain plug as dropping it into the waste oil container means you’re in for an oily scavenger hunt.
Proper disposal of old engine oil
Once the oil has been drained, don’t just dump it. Take the used oil to your local recycle or waste disposal facility. This is an important step in contributing to the environment’s protection.

Changing the Oil Filter
Next up, we go on with changing the oil filter. Just like the oil, the filter plays a crucial role in keeping the engine in good health.
Locating and removing the old oil filter
Typically, the oil filter is shaped like a small canister and located on the side of the engine. Simply twist it off – though it can be a bit tough. If so, use your oil filter wrench.
Choosing and preparing a new oil filter
Choose a new oil filter that matches the specifications of your boat engine. Before installing, it’s a good practice to fill the new filter with fresh oil and smear a little on the gasket for a secure fit.
Installing the new oil filter
Screw the new filter into the slot and tighten as per the filter instructions, typically it is hand-tight followed by a quarter turn.
Filling the Engine with New Oil
With the old oil drained and a new filter in place, it’s time to fill the engine with fresh oil. This step requires precision to ensure the right amount of oil is added.
Step by step guide on how to fill oil
Locate the oil filler cap on the top of the engine. Remove it and insert a clean funnel. Pour the new oil slowly into the funnel, allowing it time to drain into the oil pan.
Understanding the correct oil level
It’s vital to get your oil level just right. Overfilling or underfilling can harm the engine. Use the dipstick to check oil levels throughout the process and aim to fill to the ‘full’ marker.
Avoiding spills and maintaining cleanliness
While filling, ensure the oil does not spill over. If any spillage occurs, use absorbent pads to mop it up immediately.
Verifying the Oil Change
Once you’ve filled the engine with fresh oil, you’ll need to verify the oil change.
Starting the engine and checking for leaks
Start your boat’s engine and let it run for a few minutes. Check around the oil filter and the drain plug for leaks. If any are found, turn off the engine and address these issues immediately.
Checking oil pressure reading
Check your oil pressure reading. It should be within the manufacturer’s stated range. If it’s too high or too low, it might indicate a problem.
Understanding the signs of successful oil change
A successful oil change means a smooth-running engine, a good oil pressure reading, and no leaks around the drain plug or the oil filter.
Troubleshooting Common Problems
Even with the best preparation, things can go wrong. Here’s how to deal with potential problems.
Identifying possible issues during oil change
Issues could include stripped drain plugs, broken oil filters, oil leaks, and difficulties in removing the oil filter. All of these problems need addressing before the boat can be safely used again.
Tips for resolving common oil change problems
Stripped drain plugs are almost always due to over-tightening, so if this happens, consider using a repair kit or replacing the plug. A broken filter can be avoided by careful handling and not over-tightening it. Oil leaks are typically because of loose plugs or filters, ensure these are all secure.
When to seek professional help
If you can’t resolve an issue on your own, do not hesitate to seek professional help. Some challenges, like stripping the threads on the drain plug or filter, can be quite complicated to handle.
Maintaining Your Boat Engine Post Oil Change
Once you’ve completed the oil change, ongoing maintenance is key to keep your engine in good condition and extend its life.
Regular checks on engine oil
Regularly check the oil. Look at its color, viscosity, and level. Dark, dirty oil, or a low level, indicates it’s time for another change.
Importance of regular maintenance schedule
Keeping a regular maintenance schedule including regular oil changes, will go a long way in ensuring the longevity and performance of your engine.
Tips for prolonged engine life
Beyond changing the oil, other tips for engine life include using the correct fuel, ensuring good ventilation in the engine, keeping the engine clean, and promptly addressing any unusual noises or vibrations.
Environmental Considerations During Oil Change
Environmental considerations are as important as the oil change itself.
Proper disposal of old engine oil
The importance of proper disposal of old engine oil can’t be emphasized enough. It’s not just about avoiding fines, but also about doing your part to keep the environment clean.
Being aware of accidental oil spills
Preventing oil spills is important, but if they occur, make sure you are equipped to handle them immediately. Spilled oil can cause serious and long-lasting damage to the environment.
Sustainable practices for boat maintenance
In addition to proper oil disposal, other sustainable practices include using biodegradable cleaning products, minimizing fuel usage, and using less harmful antifouling paints. Your boat can provide years of enjoyment, and with the right maintenance and eco-friendly practices, it can do so without harming the environment.

