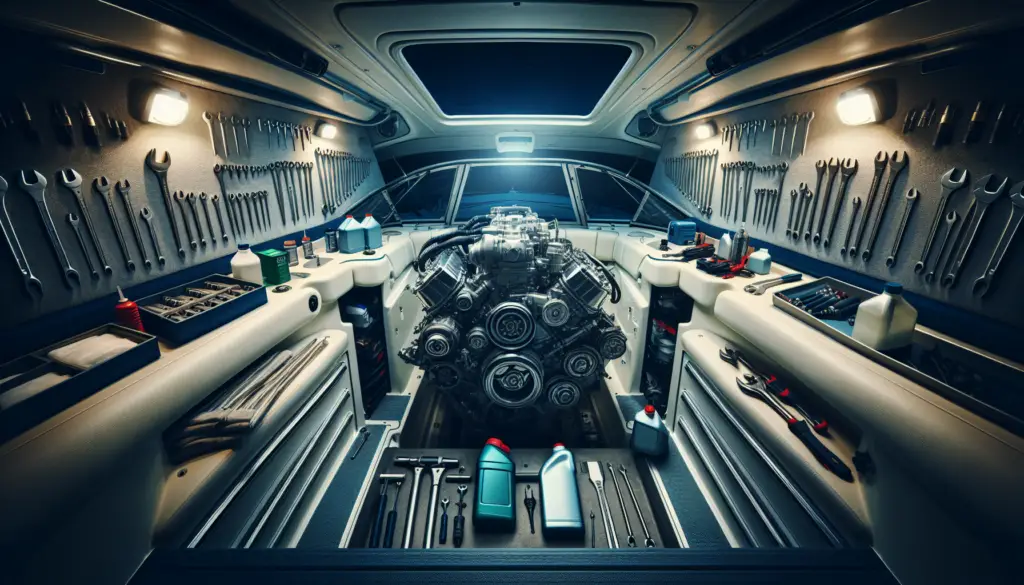
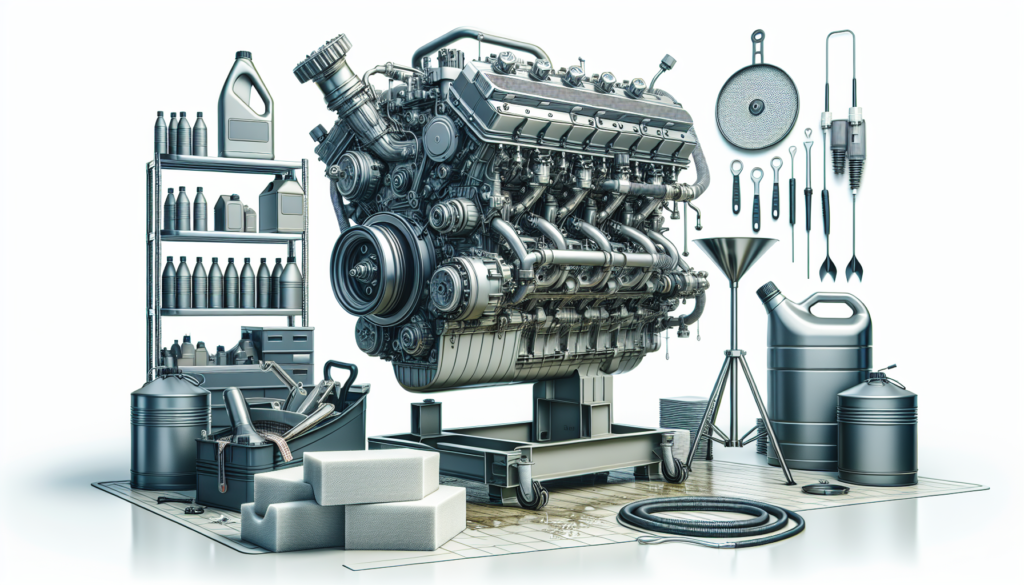
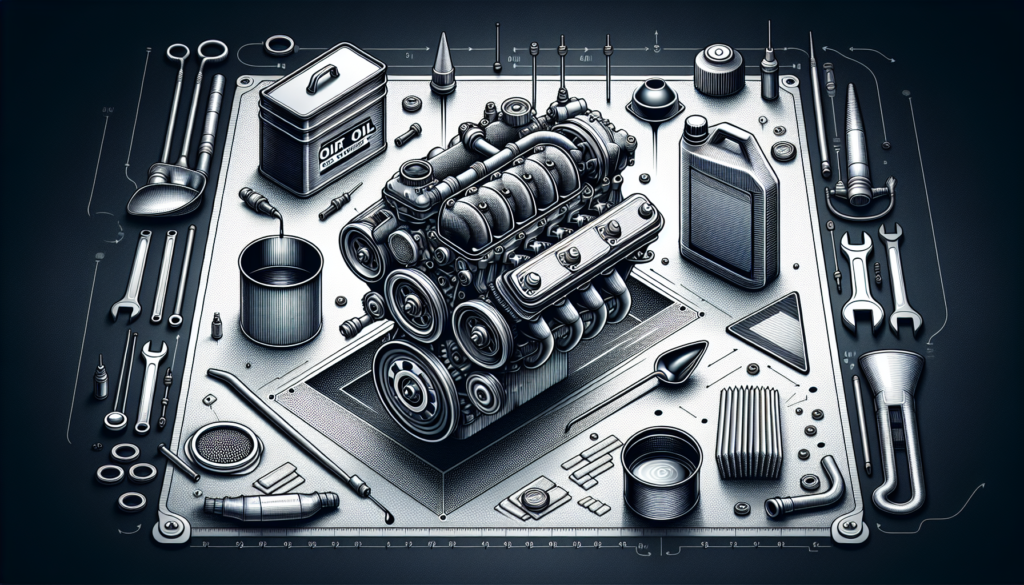
In “How To Change A Boat Engine Oil,” you’ll find a comprehensive guide that walks you through each step of changing your boat’s engine oil, a skill every boat owner should master. Oil changes are critical for extending your boat’s engine lifespan and ensuring optimum performance. By the end of the article, you will be able to change your boat’s engine oil like a pro, from determining when the oil needs to be changed, selecting the right oil, to the actual process of draining and replacing the oil.

Understanding the Importance of Changing Boat Engine Oil
When it comes to maintaining your boat engine, regularly changing the engine oil sits high on the list of crucial tasks. Much like a car’s engine, a boat engine depends on clean oil to function correctly. Let’s dive into understanding why it matters so much.
Reasons for Regular Oil Changes
Several reasons underline why changing your boat’s engine oil is crucial. For starters, regular oil changes help keep your engine clean. Engine oil gathers contaminants over time from the engine’s operation, which can cause extensive damage if not removed. What’s more, oil serves as a coolant for the engine, preventing it from overheating and maintaining engine efficiency. The effectiveness of oil as a lubricant diminishes over time, leading to increased friction and, eventually, engine damage.
Consequences of Neglecting Oil Change
Neglecting oil changes can carry severe consequences. It leads to the build-up of dirt and sludge in your engine, reducing its effectiveness and efficiency. This grime could cause the engine components to wear out faster. In the worst-case scenario, your engine could seize up and need costly repairs or even a replacement.
How Often Should You Change Boat Engine Oil
The frequency of oil changes depends on various factors like the type of engine, its age, and how often you use the boat. Generally, it’s recommended to change the oil every 50-100 operating hours, or at least once a year. It’s particularly important to change the oil before winterizing your boat for the off-season to avoid corrosion.
Identifying the Right Oil for your Engine
Choosing the right oil can feel like a puzzle. However, understanding the different types and their properties can guide your decision.
Different Types of Marine Engine Oils
There are primarily three types of marine engine oils: mineral oil, synthetic oil, and semi-synthetic oil. Mineral oil, also known as conventional oil, is a natural oil suitable for older boat models and provides adequate engine protection. Synthetic oils, on the other hand, perform excellently under high-stress conditions and temperatures and are a good fit for modern, high-performance boats. Semi-synthetic oils provide a middle-ground, balancing performance with cost-effectiveness.
Choosing the Right Viscosity
Viscosity, a measure of an oil’s resistance to flow, is a vital consideration. Oils with low viscosity flow smoothly at low temperatures, while high-viscosity oils maintain their protective abilities at high temperatures. You’ll want to choose the viscosity based on your engine manufacturer’s recommendations and the typical operating conditions of your boat.
Understanding Oil Grades and Certifications
The oil grade indicates its viscosity and its ability to help start the engine in cold conditions. Marine engine oil usually comes with a set of certifications, such as the NMMA (National Marine Manufacturers Association) FC-W certification, which indicate the oil’s suitability for marine use.
Gathering Necessary Tools and Equipment
Changing your boat’s engine oil isn’t a complicated task, but it requires a set of tools and equipment.
Listing Essential Tools for Oil Change
For a successful oil change, you’ll need items like a boat oil change pump, oil filter wrench, new oil filter, marine-graded engine oil, and a drain pan. Additionally, you might need a set of wrenches, rags for cleaning, and funnel for pouring the oil.
Special Tools for Certain Engine Types
Depending on your boat engine’s specific make and model, you may need additional tools. For instance, some engines may require a specialized oil filter wrench to remove and tighten the oil filter. Others might need a unique socket size to access the oil drain plug.
Safety Equipment and Precautions
Remember, safety first. Always have on hand gloves to protect your hands from hot oil and safety glasses to protect your eyes from unexpected oil splashes. Ensure your boat is stable and secure before starting the process and steer clear of open flames, as oil is flammable.
Preparing the Boat for Oil Change
Before you even touch the oil, there are preparatory steps to take to ensure a smooth process.
Positioning the Boat for Ease of Access
The boat needs to be on a flat surface, ideally a hardstand, for stability while the oil is being changed. This positioning also makes it easier to access the oil drain plug and ensures the oil drains out effectively.
Warming Up the Engine
Run the engine for 10-15 minutes to warm up the oil. Warm oil flows better, ensuring the oil and impurities drain out more thoroughly. But caution: the engine can get hot, so avoid touching it directly.
Handling Fuel and Electric Components Safely
Ensure the ignition is turned off and the key removed before you start. While working on the engine, be careful not to accidentally hit or dislodge any wires, cables, or fuel lines.

Draining the Existing Engine Oil
With your boat prepared, it’s time to drain the old oil.
Locating the Drain Plug or Oil Pan
First, locate the oil drain plug or oil pan. In some boats, it’s on the bottom of the engine, while in others, it’s on the side. Check your user manual if you’re unsure.
Proper Extraction of Old Oil
Remove the plug and allow the oil to drain into your drain pan. Remember to replace the plug securely once the oil is drained to prevent leaks. In some engines, using an oil change pump to help extract the oil may be necessary.
Safe Disposal of Used Engine Oil
Used engine oil needs to be disposed of safely and responsibly because it can harm the environment. Many marinas and auto workshops have facilities for used oil disposal, or they can direct you to the nearest one.
Replacing the Oil Filter
Changing the oil filter at the same time as the oil ensures the clean oil won’t get polluted by a dirty filter.
Importance of Changing the Filter Along with Oil
Old, overused filters can’t properly capture and hold contaminants, leading to oil pollution and potential engine damage. The fresh oil filter ensures your new oil stays clean and effective for longer.
Steps to Remove the Old Filter
Use your oil filter wrench to remove the old filter. It’ll be full of oil, so be careful not to spill it.
Installing the New Oil Filter
Before installing the new filter, lightly coat the gasket at the top of the filter with new oil for a good seal. Then, screw it into place following the manufacturer’s instructions, generally until it’s hand-tight.

Adding New Engine Oil
Now the engine is ready for the new oil.
Locating the Fill Cap
Locate the engine’s oil fill cap; it’s often marked with an oil can icon. Remove the cap and set it aside.
Correct Pour Technique to Avoid Air Bubbles
Using a funnel, slowly pour the new oil into the engine. Do this slowly to avoid creating air bubbles, which can lead to inaccurate readings on your dipstick.
Checking Oil Levels During the Process
Keep checking the oil level with the dipstick as you fill. Stop filling once the oil reaches the “full” mark on the dipstick. Overfilling the oil can damage the engine.
Inspecting for Possible Leaks
Once you’ve filled the oil, it’s time to check for leaks.
Identifying Signs of Oil Leaks
Any fresh oil around the filter or drain plug could signify a leak. Smelling burning oil or seeing smoke after starting the engine could also indicate a leak.
Methods to Check for Leaks Post-Change
After changing the oil and filter, run your engine while the boat is still stable and check again for leaks. Keep an eye on your oil pressure gauge; a sudden drop in pressure can also suggest a leak.
Addressing Potential Leak Points
If you spot a leak, switch off the engine immediately. Tighten up the filter and drain plug and replace the seal if necessary.

Restarting and Running the Engine
Now that your boat’s engine has fresh oil and no leaks let’s get it back on the water.
Correct Startup Procedure After Oil Change
Once you’re confident there are no leaks, restart the engine. Initially, run it at a low speed to allow the new oil to circulate.
Monitoring Engine Performance
Keep an eye on your oil pressure gauge and engine temperature during your first run with the new oil. If either starts to spike or drop rapidly, shut down the engine and investigate.
Checking Oil Pressure and Levels After Running
Check the oil level again after your first run with the new oil. This is to ensure that all parts of the engine have been thoroughly lubricated, and there’s still enough oil in the engine.
Maintaining Records and Scheduling Next Oil Change
After a job well done, don’t forget the final step: documentation.
Maintaining a Logbook of Oil Changes
Keeping a record of your oil changes is crucial for proper maintenance of your boat engine. In a waterproof logbook, jot down the date of the oil change, the type of oil used, and the engine’s hours meter reading, if available.
Setting Reminders for Future Oil Changes
Set a reminder for your next scheduled oil change, whether it’s based on operating hours or the time of year. This way, you won’t inadvertently run past your oil change interval.
Monitoring Engine Performance for Possible Early Oil Changes
Even with regular changes, monitor the engine’s performance. If you notice significant changes, it might mean your engine needs its oil changing sooner than expected – a sure sign your boat is asking for a little extra care.
And, that’s it! You’ve now taken a significant step in maintaining your boat’s engine and ensuring many more hours of smooth sailing. With time, you’ll find that changing your boat’s engine oil becomes a straightforward task that can save time, money and extend your boat’s life – happy sailing!

