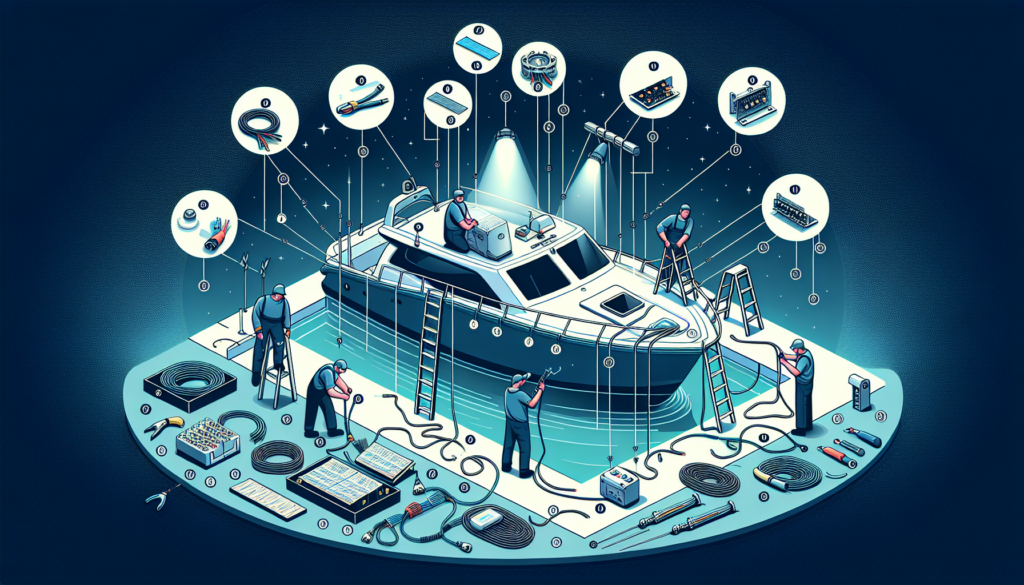
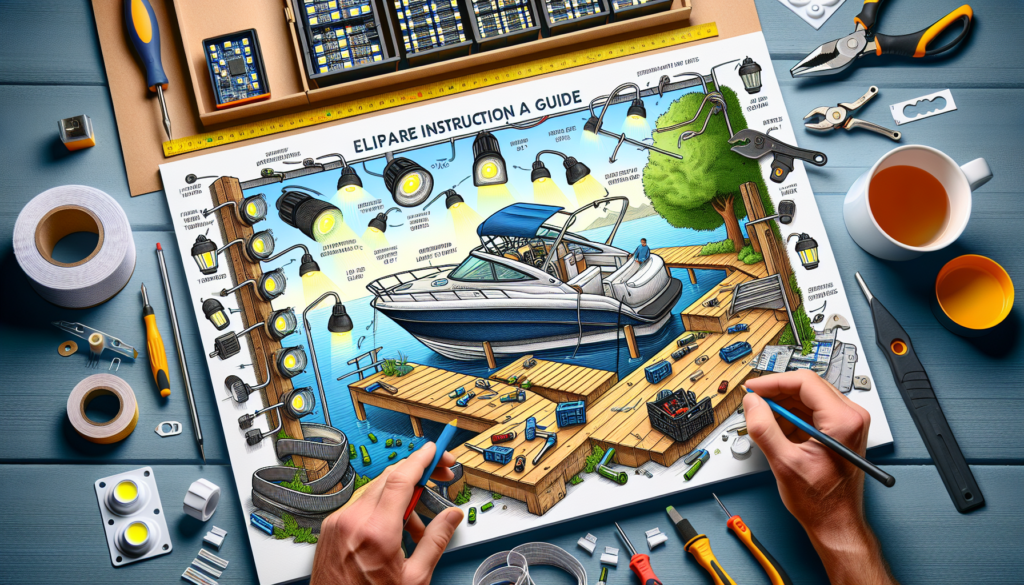
If you’re a boat owner looking to upgrade your vessel’s lighting system, this beginner’s guide is for you! In this article, we will provide you with all the information you need to know about installing LED lights on your boat. Whether you’re a novice or have some experience, we’ve got you covered. From the benefits of LED lights to the step-by-step installation process, we will walk you through everything you need to know. So, grab your toolbox and get ready to illuminate your boat with stunning LED lights!

Safety Precautions
Understanding Electrical Systems
Before embarking on any electrical installation on your boat, it’s crucial to have a basic understanding of how electrical systems work. Familiarize yourself with the different components and terminology, such as circuit breakers, fuses, and wiring. This knowledge will help you make informed decisions and avoid potential dangers during the installation process.
Turning Off Power
Safety should always be your top priority when working with electricity. Before starting any work, make sure to turn off the power to the specific area where you’ll be installing the LED lights. This will help prevent accidental electric shock.
Using Insulated Tools
To further reduce the risk of electrical shock, always use insulated tools when working on your boat’s electrical system. Insulated tools have a protective coating that helps to prevent electrical conductivity, providing an extra layer of protection.
Wearing Protective Gear
When working with electrical systems, it’s crucial to wear appropriate protective gear. This includes insulated gloves, safety glasses, and non-conductive footwear. These precautions will safeguard you from potential electrical hazards and minimize the risk of injury.
Choosing LED Lights for Your Boat
Types of LED Lights
LED lights come in different types, each with its own unique features and applications. Some common types include strip lights, spotlights, and underwater lights. Consider the specific lighting needs of your boat and choose the type that best suits your requirements.
Sizing and Brightness
When selecting LED lights, it’s important to consider their size and brightness. Measure the area where you plan to install the lights to ensure you choose the appropriate length of LED strip. Additionally, consider the brightness level required for your desired lighting effect.
Waterproofing and Durability
Given the marine environment, it’s crucial to select LED lights that are waterproof and durable. Look for lights that are specifically designed for marine use and have a high IP rating indicating their level of protection against water and moisture.
Color Temperature and Beam Angle
LED lights offer a range of color temperatures, from warm white to cool white and even RGB options. Consider the ambiance you want to create and choose a color temperature that matches your preferences. Additionally, pay attention to the beam angle of the LED lights to ensure adequate coverage and light dispersion.

Required Tools and Materials
LED Lights
First and foremost, you’ll need the LED lights themselves. Choose high-quality LED lights that are specifically designed for marine use to ensure longevity and performance in the harsh marine environment.
Wire Cutters and Strippers
To properly install LED lights, you’ll need wire cutters and strippers to cut and strip the electrical wires. These tools will ensure a clean and secure connection during installation.
Soldering Iron and Solder
Soldering irons and solder are essential for securing electrical connections. Soldering provides a strong and reliable connection, ensuring the LED lights function properly.
Heat Shrink Tubing
Heat shrink tubing is used to insulate and protect soldered connections. It provides an extra layer of insulation and helps prevent moisture and corrosion from affecting the electrical connections.
Adhesive Tapes and Mounting Accessories
To secure the LED lights in place, you’ll need adhesive tapes and mounting accessories. These will help you attach the lights to different surfaces on your boat securely.
Wire Connectors
Wire connectors are used to join different wires together, making electrical connections easier and more secure.
Marine Tape and Sealant
Marine tape and sealant help protect the electrical connections from moisture and water intrusion. They create a watertight seal, safeguarding against potential damage.
Determining Installation Locations
Identifying Key Areas
Before installing LED lights, identify the key areas where you want to enhance illumination on your boat. This could include the cockpit, deck, cabin, or even underwater locations. Consider both practical and aesthetic factors when identifying these areas.
Assessing Wiring Accessibility
It’s important to assess the accessibility of the wiring in the areas where you’ll be installing the LED lights. Ensure that you can easily access the existing wiring or create new wiring paths if necessary.
Considering Lighting Effects
Think about the specific lighting effects you want to achieve in each area. Do you want bright and focused lighting, or would you prefer more ambient and subtle illumination? Considering the desired lighting effects will help you determine the appropriate type and placement of LED lights.
Avoiding Places with Excessive Heat or Moisture
When choosing installation locations, avoid areas with excessive heat or moisture. High temperatures can affect the performance of LED lights, while excessive moisture can lead to corrosion or short circuits. Select areas that are less prone to these issues to ensure the longevity of your LED lights.

Preparing for Installation
Creating a Wiring Diagram
Before starting the installation process, it’s helpful to create a wiring diagram. This diagram will serve as a visual guide, showing how the LED lights will be connected to the power source and any additional switches or dimmers.
Calculating Power Requirements
Ensure that you have an adequate power supply to support the LED lights. Calculate the power requirements by adding up the wattage of all the LED lights you’ll be installing. Make sure your boat’s electrical system can handle this additional load.
Measuring and Cutting LED Strips
Measure the areas where you’ll be installing the LED strips and cut them to the appropriate length. Take extra care to make clean and precise cuts to ensure a professional-looking installation.
Testing LED Lights before Installation
Before permanently installing the LED lights, it’s best to test them first. This will allow you to identify any faulty lights or connections and make necessary adjustments. Testing beforehand can save you time and frustration later on.
Installing LED Lights on Your Boat
Wiring LED Lights
Make electrical connections by connecting the positive and negative wires of the LED lights to the power source. Use wire connectors or solder the connections, ensuring a secure and reliable connection.
Soldering LED Strips
If you are using LED strips, solder the corresponding wires to the strip connectors. Take care to match the polarity correctly, as reversing the connection can damage the LED strip.
Securing LED Strips
Use adhesive tapes or mounting accessories to secure the LED strips in the desired locations. Ensure the strips are firmly attached to prevent any movement or damage while the boat is in motion.
Connecting Multiple LED Strips
If you’re using multiple LED strips, connect them together using strip connectors or wire connectors. This will allow you to create a continuous and uniform lighting effect.
Waterproofing Connections
To protect the electrical connections from water and moisture, use heat shrink tubing and marine sealant. Apply the heat shrink tubing over the soldered connections and then apply marine sealant over the tubing for added protection.
Mounting LED Controllers
If you’re using LED controllers for dimming or color-changing effects, mount them in a convenient and accessible location. Ensure they are securely mounted to prevent any movement during boating activities.
Securing Power Supply
Secure the power supply unit in a safe and out-of-the-way area on your boat. Make sure it is adequately protected from harsh weather conditions and securely fastened to avoid any damage.
Connecting to Battery
Connect the LED lights to the boat’s battery using appropriate wiring and fuses. Ensure that the battery is properly grounded and all connections are tightened and securely fastened.
Installing Switches and Dimmers
If desired, install switches and dimmers to control the LED lights. Choose locations that are easily accessible and convenient to operate. Ensure proper wiring and follow the manufacturer’s instructions for installation.

Testing and Troubleshooting
Testing LED Lights
After installation, thoroughly test all LED lights to ensure they are functioning correctly. Check for any flickering, dimming, or irregularities. If any lights are not working, double-check connections and wiring for any potential issues.
Checking Proper Voltage
Verify that the LED lights are receiving the appropriate voltage. Use a multimeter to measure the voltage at various connection points throughout the lighting system. This will help identify any voltage drop or irregularities.
Troubleshooting Common Issues
If you encounter any issues during the installation or testing process, refer to the troubleshooting section of the LED lights’ manual. Common issues may include faulty connections, improper wiring, or damaged LED strips.
Ensuring Water Resistance
Regularly inspect the LED lights for signs of water intrusion, especially in areas exposed to splashing or submersion. Ensure all connections are properly sealed and free from any damage or corrosion. Replace any worn-out or damaged parts promptly to prevent further issues.
Maintenance and Care
Regular Cleaning
Maintain the appearance and performance of your LED lights by regularly cleaning them. Gently wipe off any dirt or debris using a soft cloth or non-abrasive cleaning agents. Avoid using harsh chemicals or abrasive materials that can damage the light fixtures.
Inspecting and Replacing Worn-out Parts
Periodically inspect the LED lights for any signs of wear and tear. Check for loose connections, damaged wiring, or cracked light fixtures. Replace any worn-out parts or components to ensure optimal performance and longevity.
Checking Electrical Connections
Regularly check the electrical connections of your LED lights for any signs of corrosion or deterioration. Clean the connections if necessary and apply a small amount of dielectric grease to prevent corrosion.
Monitoring Water Resistance
Regularly test the water resistance of your LED lights by observing their performance in wet conditions or by conducting a water spray test. Address any issues with water intrusion promptly by re-sealing connections and applying marine sealant as needed.

Enhancing Lighting Effects
Using LED Color Controllers
Enhance your lighting experience by incorporating LED color controllers. These controllers allow you to adjust the color and intensity of your LED lights, creating a custom ambiance onboard your boat. Explore the different features and capabilities of these controllers to find one that suits your preferences.
Creating Lighting Zones
To achieve a more sophisticated lighting setup, consider creating lighting zones on your boat. Divide the LED lights into separate circuits or zones, allowing you to control each area independently. This can help create different moods or optimize lighting for specific activities.
Adding Dimmers and Timers
For added convenience and energy efficiency, consider installing dimmers and timers for your LED lights. Dimmers allow you to adjust the brightness according to your preferences, while timers can automate the lighting schedule, saving energy and providing added security.
Installing RGB LED Lights
RGB LED lights offer the flexibility to choose from a wide spectrum of colors to match your mood or theme. Consider installing RGB LED lights in areas where you want to create unique and dynamic lighting effects. Use an RGB controller to switch between colors or create custom lighting patterns.
Conclusion
Installing LED lights on your boat can enhance both its functionality and aesthetics. By following the safety precautions, choosing the appropriate LED lights, using the required tools and materials, and properly installing and maintaining the lights, you can create an illuminated and captivating environment on your boat. Consider your specific lighting needs and preferences, and take the time to plan and execute the installation process carefully. With the right knowledge and precautions, you’ll be able to enjoy the benefits of LED lighting on your boat for years to come.

