So you’ve just purchased a new boat and you’re excited to make it truly yours. One of the best ways to personalize your boat and add a touch of style is by adding custom graphics and decals. Whether you want to display your boat’s name, show off your favorite sports team, or simply add some eye-catching designs, this article will guide you through the process of adding custom graphics and decals to your boat. From choosing the right materials to applying them correctly, we’ve got you covered. Get ready to turn heads on the water with your unique and stunning boat graphics.

Choosing the Right Graphics and Decals
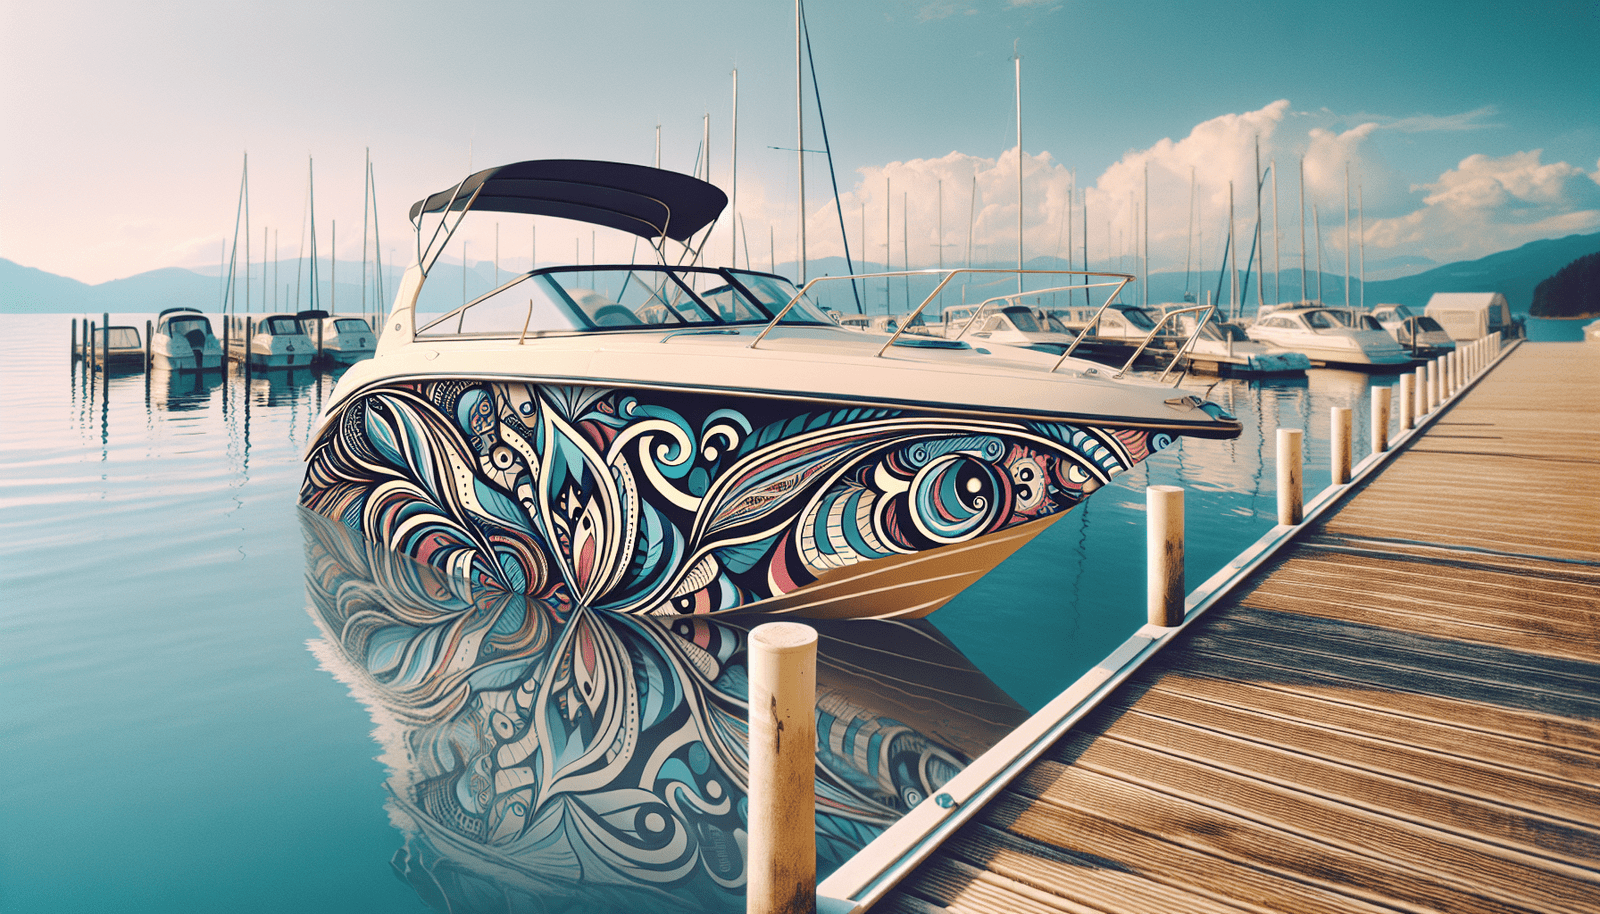
When it comes to choosing the right graphics and decals for your boat, it’s important to consider your boat’s style and theme. You want the graphics to complement the overall look and feel of your boat, whether it’s sleek and modern or classic and traditional. Take into account the colors, lines, and shapes of your boat when selecting the design.
Researching available designs is also crucial in finding the perfect graphics and decals. There are countless options out there, from intricate and detailed designs to simple and bold ones. Look online, browse through boating magazines, or visit local print shops to see the range of possibilities. Consider what you want the graphics to communicate – whether it’s a hobby, a favorite sports team, or simply a personal touch.
Additionally, it’s important to think about the placement and size of the graphics. You want to ensure that they fit well on your boat and don’t overpower the overall aesthetic. Measure the available space, taking into account curves and contours, and consider how the graphics will flow with the lines of your boat.
Lastly, consider the material and durability of the graphics. Boat graphics and decals are typically made of vinyl, which is known for its durability and longevity. However, there are different types of vinyl, so it’s important to choose one that is resistant to fading, cracking, and peeling. This will ensure that your graphics stay vibrant and intact for years to come.
Preparing Your Boat for the Graphic Installation
Before installing any graphics or decals, you need to properly prepare the surface of your boat. This will ensure that the graphics adhere well and last longer.
To begin, clean the surface thoroughly. Use a mild soap and water solution to remove any dirt, grime, or grease. This will ensure that the graphics adhere properly and won’t be compromised by any residue on the surface.
If there are any old graphics or decals on your boat, it’s important to remove them before installing new ones. Use a heat gun or a hairdryer to gently warm the old graphics, making them easier to peel off. Use a plastic scraper or a rubber spatula to lift the graphics, being careful not to damage the surface of your boat.
In some cases, you may need to sand and prime the surface before applying new graphics. This is particularly necessary if there are any rough or damaged areas on the surface. Sand down the area until it is smooth and then apply a layer of primer to ensure proper adhesion.
Creating Custom Graphics and Decals
If you want to add a personal touch to your boat, creating custom graphics and decals is a great option. There are several ways to go about this.
One option is to design your own graphics. If you have a talent for art or graphic design, you can create a unique design that perfectly reflects your personality and style. Consider using specialized graphic design software or even hand-drawing your design and scanning it into the computer for further editing.
Another option is to work with a graphic designer. If you have a general idea of what you want but lack the technical skills to bring it to life, a graphic designer can help you refine your vision and create a professional design. They can work with you to understand your preferences, style, and boat specifications to create a design that is tailored to your needs.
Lastly, there are graphic templates and software available that can simplify the design process. These resources provide pre-made designs and tools to customize them according to your preferences. While this may not offer the same level of uniqueness as designing from scratch, it can still result in a visually appealing and personalized graphic for your boat.
The Vinyl Cutting Process
Once you have chosen or created your graphics and decals, it’s time to cut them out of vinyl. This process involves several steps to ensure precise and clean cuts.
First, you need to choose the right vinyl and cutting equipment. There are different types of vinyl available, each with its own characteristics and applications. Consider factors such as color, finish, and adhesive strength when selecting the vinyl. Additionally, make sure you have the appropriate cutting equipment, such as a vinyl cutter or plotter, that is compatible with the vinyl you’ve chosen.
Next, prepare the design for cutting. This involves using graphic software or a cutting program to convert the design into a format that can be read by the cutting machine. Ensure that the design is properly sized and positioned for cutting.
Load the vinyl onto the cutting machine and set up the necessary parameters, such as blade depth and cutting speed. It’s important to adjust these settings according to the vinyl type and thickness to achieve clean and precise cuts. Double-check that the design is properly aligned and ready for execution.
Once everything is set up, execute the cutting process by activating the machine. Watch closely as the machine follows the design lines, cutting the vinyl with precision. Take your time and ensure that the cuts are clean and accurate.

Preparing the Surface for Application
Before applying the graphics and decals to your boat, you need to prepare the surface once again to ensure a proper bond and longevity.
Start by cleaning the surface with a mild soap and water solution, similar to the cleaning process mentioned earlier. This will remove any dust or debris that may have settled since the initial cleaning.
In some cases, it may be necessary to apply a surface treatment to enhance adhesion. This is especially important if you are applying the graphics to a fiberglass or gel coat surface. Surface treatments, such as adhesion promoters, help ensure a strong bond between the graphics and the surface.
To ensure accurate placement of the graphics, consider marking placement guidelines on the surface. Use easily removable tape or a water-soluble marker to indicate the edges and alignment of the graphics. This will help you achieve a clean and precise application.
Applying the Graphics and Decals
Now comes the exciting part – applying the graphics and decals to your boat. Follow these steps for a smooth and successful application.
Start by measuring and aligning the graphics on the surface. Use the placement guidelines you marked earlier to ensure accuracy. Take your time with this step, as a precise alignment is key to achieving a professional-looking result.
Once you are satisfied with the positioning, it’s time to remove the backing paper from the graphics. Start at one corner and slowly peel away the backing, being mindful not to touch the adhesive side of the graphics.
As you remove the backing paper, smoothly apply the graphics to the surface of your boat. Start at one end and carefully press the graphics onto the surface, working your way across. Use a squeegee or a similar tool to apply even pressure and remove any air bubbles or wrinkles as you go.
If air bubbles do appear, gently lift the graphics and use the squeegee to smooth them out. Take your time and be patient, as eliminating air bubbles will ensure a seamless and professional-looking application.

Finalizing the Application
After applying the graphics and decals, take a moment to inspect the final result. Look for any imperfections or areas that may require further attention.
Trim any excess vinyl that extends beyond the edges of the graphics. Use a sharp utility knife or a vinyl trimmer to carefully cut along the edges, following the shape of the graphics. This will give your boat a clean and finished appearance.
If required, apply heat to the graphics using a heat gun or a hairdryer. This can help the graphics conform to curved surfaces or recessed areas, ensuring a smooth and wrinkle-free finish. Be cautious when using heat to avoid damaging the graphics or the surface of your boat.
To seal the edges and protect the graphics, consider applying a sealant or protective coating. This will help prevent water, dirt, and UV rays from compromising the integrity of the graphics. Follow the manufacturer’s instructions for applying the sealant or coating, ensuring a thorough and even application.
Maintaining and Protecting Your Graphics
To keep your boat graphics looking their best and extending their lifespan, regular maintenance is essential.
Clean the graphics regularly with a mild soap and water solution. Gently scrub the surface using a soft cloth or sponge, paying attention to any dirt or residue. Avoid using harsh cleaning chemicals, as they can damage the graphics or cause them to fade or peel.
It’s also important to protect the graphics from direct sunlight and extreme weather. Prolonged exposure to the sun’s UV rays can cause fading and deterioration over time. Whenever possible, park or store your boat in a shaded area or use a boat cover to provide additional protection.
Consider applying a protective coating specifically designed for boat graphics. These coatings offer an extra layer of protection against UV rays, scratches, and other environmental factors. Follow the manufacturer’s instructions for application and reapplication to ensure maximum effectiveness.

Removing Graphics and Decals
If you ever need to remove graphics or decals from your boat, there are a few steps you can follow to make the process easier.
Start by using heat and a plastic scraper to loosen and lift the graphics. Gently apply heat to the graphics using a heat gun or a hairdryer. This will soften the adhesive and make it easier to peel off. Use a plastic scraper or a rubber spatula to lift the graphics, working slowly and carefully to avoid damaging the boat’s surface.
In some cases, you may need to apply adhesive remover if there is stubborn residue left behind. Follow the instructions on the adhesive remover product and use a soft cloth or sponge to apply it to the remaining adhesive. Allow the remover to penetrate the adhesive and then gently wipe away the residue.
Once the graphics and adhesive are removed, clean the surface thoroughly with a mild soap and water solution. This will remove any remaining residue or adhesive, preparing the surface for a potential new application.
Seeking Professional Help
While adding graphics and decals to your boat can be a rewarding DIY project, there may be situations where professional installation is warranted.
If you lack the time, skills, or confidence to install the graphics yourself, it’s wise to consider professional installation. Experienced graphic installers have the knowledge and expertise to ensure a flawless and long-lasting application. They have access to specialized equipment and materials that may not be readily available to DIY enthusiasts.
When seeking professional help, it’s important to find a reputable graphics installer. Ask for recommendations from fellow boaters or do research online to find reputable businesses in your area. Look for reviews and testimonials to gauge the quality of their work and their level of customer satisfaction.
When considering professional installation, keep in mind that there will be costs involved. The price will depend on factors such as the size and complexity of the graphics, the type of boat, and the location of the installation. Additionally, the timeframe for completion will vary based on the workload of the installer and any customization required.
In conclusion, adding custom graphics and decals to your boat is a fantastic way to personalize your vessel and make it stand out on the water. By carefully choosing the right design, preparing the surface properly, and following the installation process, you can enjoy a stunning and durable application. With proper maintenance and protection, your boat graphics will continue to impress for years to come.
