If you’re an avid fisherman and spend a lot of time out on your boat, having a custom bait prep station can be a game-changer. Not only does it make preparing your bait easier and more efficient, but it also helps keep your boat clean and organized. In this article, you’ll learn step-by-step instructions on how to install a custom bait prep station on your boat. With just a few simple tools and materials, you’ll have a practical and convenient addition to your fishing setup in no time.
Choose the Right Bait Prep Station
Consider the Size and Design
When choosing a bait prep station for your boat, it’s important to consider the size and design that would best suit your needs. Think about how much space you have available on your boat and how you plan to use the station. If you typically fish alone or with a small group, a compact and sleek design might be ideal. However, if you often go fishing with a larger group or need more workspace for cutting bait, a larger station with multiple compartments would be a better fit.
Evaluate Materials for Durability
Durability is key when it comes to a bait prep station. It will be exposed to harsh marine environments, including saltwater, sunlight, and rough weather conditions. Look for stations made from high-quality materials such as marine-grade stainless steel or durable plastic polymers that are resistant to corrosion and UV damage. This will ensure that your bait prep station stands the test of time and can withstand the rigors of boating and fishing.
Ensure Sufficient Storage Space
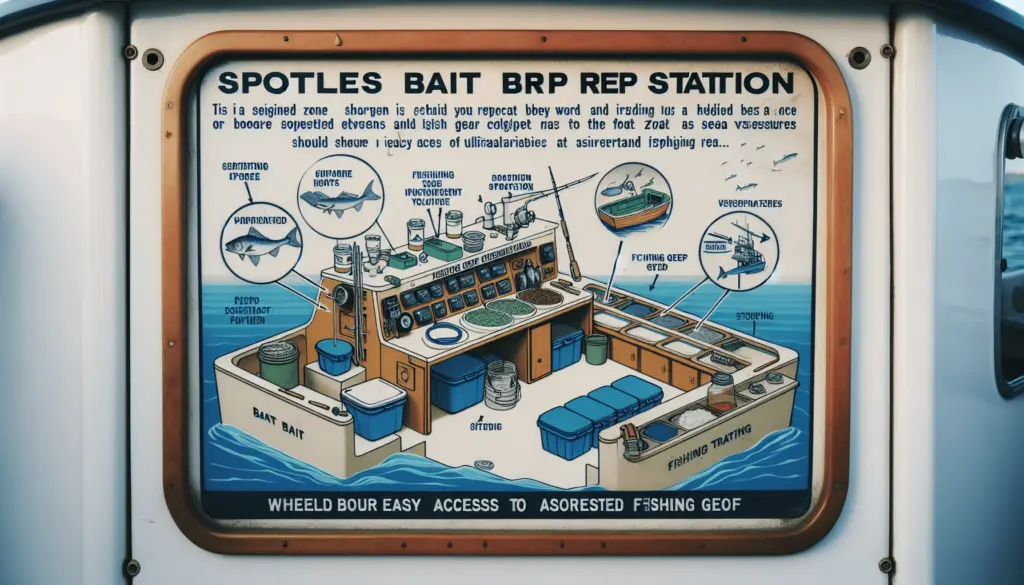
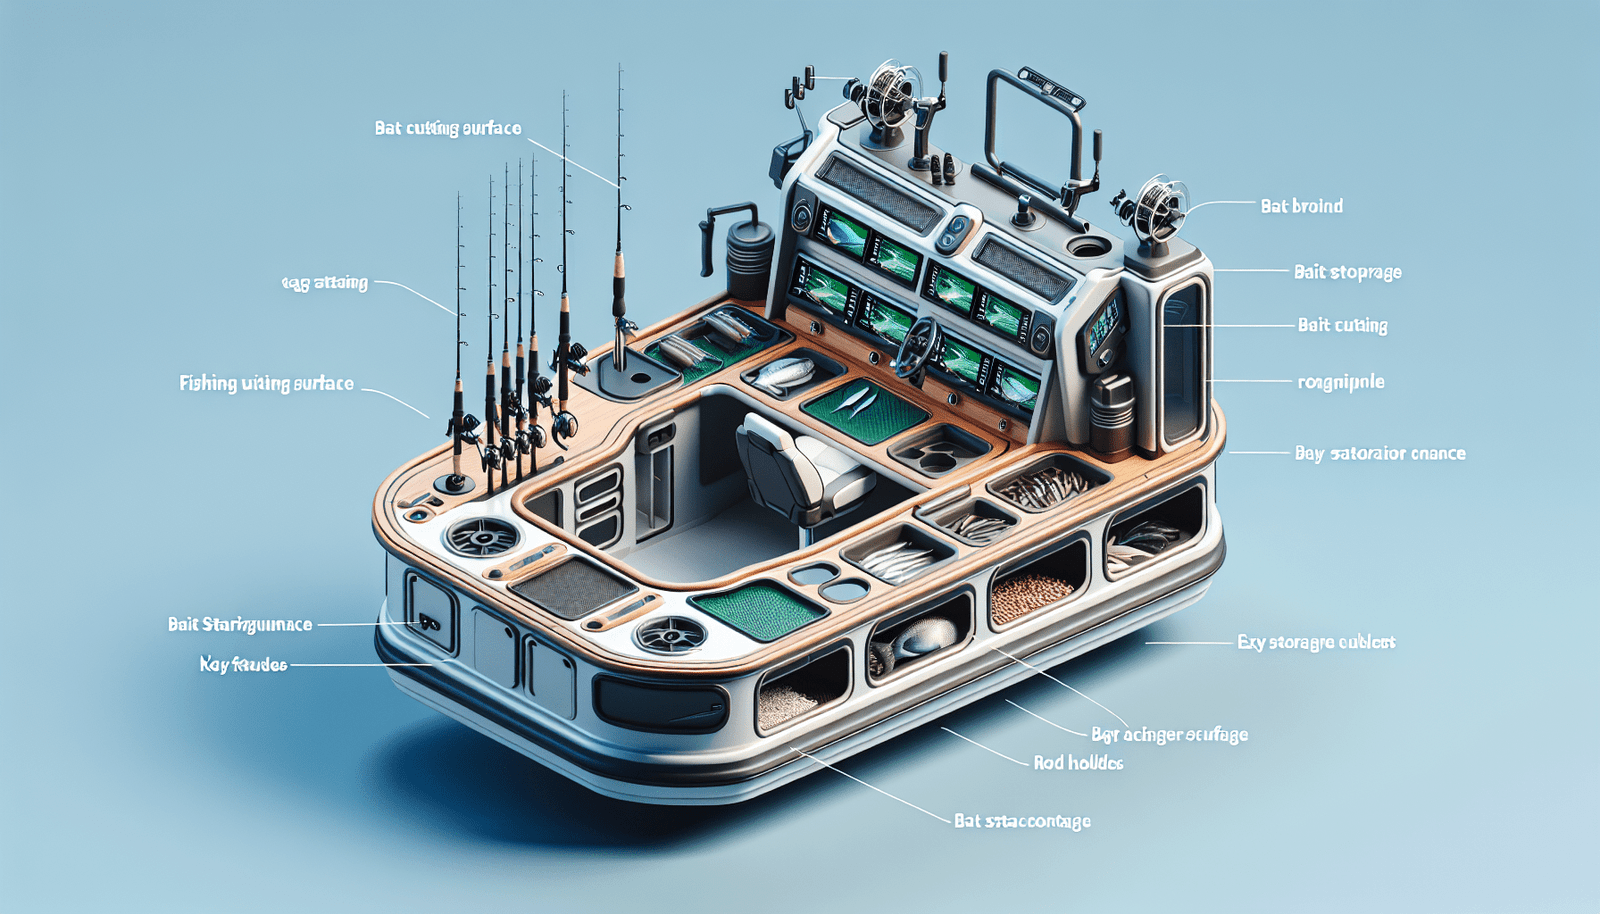
A bait prep station should not only provide a clean and convenient workspace but also offer ample storage space for all your fishing gear and accessories. Consider the number and size of tackle boxes, knife holders, and additional storage containers you will need. Look for stations that offer built-in tackle box holders, rod holders, and knife holders. These features will help keep your gear organized and easily accessible while you’re out on the water.
Assess the Boat Layout
Identify a Suitable Location
Before you install your bait prep station, it’s essential to identify a suitable location on your boat. Look for a spot that is easily accessible and allows for comfortable movement around the station. You may want to choose a location near the fishing area, so you don’t have to venture too far while handling bait. Additionally, consider any existing fixtures or equipment on your boat that could interfere with the installation process.
Measure Available Space
Once you’ve identified a suitable location, measure the available space to ensure that the bait prep station will fit without obstructing other areas of your boat. Take into account the height, width, and depth of the station, as well as any additional accessories or storage containers that will be installed. It’s important to have enough space to comfortably navigate around the station while also leaving room for other essential equipment and amenities on your boat.
Consider Accessibility and Convenience
When assessing the boat layout, it’s crucial to consider the accessibility and convenience of the bait prep station. Ensure that it is in a location where you can easily reach utensils, tools, and necessary equipment while preparing bait. Additionally, think about how close it is to water sources and plumbing lines, as well as any electrical outlets that may be needed to power the station. This will help ensure that your bait prep station is not only functional but also convenient to use.

Gather the Necessary Tools and Materials
Basic Hand Tools
To install your custom bait prep station, you will need a variety of basic hand tools. These may include a screwdriver, adjustable wrench, pliers, tape measure, and hammer. Having these tools on hand will make the installation process much smoother and more efficient.
Mounting Hardware
Depending on the specific design of your bait prep station, you may require mounting hardware such as screws, bolts, brackets, or clamps. It’s important to gather the appropriate hardware based on the installation instructions provided with your station. Ensuring that you have the correct hardware will help to ensure that your bait prep station is securely and sturdily installed onto your boat.
Sealants or Adhesives
Sealants or adhesives may be necessary to create a water-tight and secure seal between the bait prep station and your boat. This is particularly important if you plan to install plumbing lines or if the station has a sink with a faucet. Be sure to choose sealants or adhesives that are specifically designed for marine applications to ensure their durability and effectiveness.
Drill and Bits
A drill with appropriate bits is essential for drilling holes and installing mounting brackets. Make sure you have the correct drill bits for the type of material your boat is made of, whether it be fiberglass, aluminum, or wood. Using the right drill and bits will make the installation process much easier and prevent unnecessary damage to your boat.
Level
Having a level is crucial to ensure that your bait prep station is installed correctly and sits level on your boat’s surface. This will not only enhance its appearance but also contribute to its overall stability and functionality. A level will help you determine if any adjustments need to be made during the installation process, ensuring that your bait prep station is perfectly aligned.
Prepare the Boat
Clean the Installation Area
Before you begin installing your bait prep station, it’s important to clean the installation area thoroughly. Remove any dirt, grime, or residue that may be present on the boat’s surface. This will ensure a clean and smooth installation and promote the adhesion of any sealants or adhesives that may be used. Use a mild detergent and water to clean the area, and dry it thoroughly before proceeding.
Ensure Proper Ventilation
During the installation process, it’s essential to ensure proper ventilation in the area where you will be working. If you’re using any sealants or adhesives that emit fumes, make sure you have adequate airflow by opening windows or hatches. This will help prevent any harmful fumes from accumulating in the confined space and ensure a safe and comfortable working environment.
Remove Any Obstacles or Debris
Take a moment to remove any obstacles or debris from the installation area that could interfere with the installation process. This includes loose wires, hoses, or any other equipment that may be in the way. Creating a clear and clutter-free workspace will allow you to install your bait prep station with ease and minimize the risk of accidents or damage.

Install Mounting Brackets
Determine Position and Spacing
Before installing the mounting brackets for your bait prep station, determine their position and spacing. Refer to the installation instructions provided by the manufacturer to ensure the correct placement. Consider the size and shape of your bait prep station and the available space on your boat. Mark the positions for the brackets using a marker or pencil, making sure they are evenly spaced and level.
Mark Drill Holes
Once you have determined the position and spacing of the mounting brackets, mark the drill holes on your boat’s surface. Use a marker or pencil to clearly indicate where the holes need to be drilled. Double-check the alignment and measurements to ensure accuracy before proceeding with drilling.
Pre-drill and Install Brackets
Using the appropriate drill bit and drill, pre-drill the holes for the mounting brackets as marked. Be mindful of the material your boat is made of and adjust the drilling speed accordingly. Once the holes have been drilled, proceed to install the brackets securely using the provided screws or bolts. Tighten them adequately, but be careful not to overtighten and risk damaging the boat or the brackets.
Double-check Alignment and Stability
After installing the mounting brackets, double-check their alignment and stability. Ensure that they are straight, level, and securely fastened to the boat. Gently test the brackets for any movement or instability. If adjustments are needed, make them at this stage to ensure a solid foundation for your bait prep station.
Attach the Bait Prep Station
Apply Sealant or Adhesive
Before attaching the bait prep station to the mounting brackets, apply a suitable sealant or adhesive to the contact surface. This will create a water-tight and secure bond between the station and the brackets. Ensure that you apply the sealant evenly and cover the entire contact area to prevent any leaks or movement.
Position Unit onto Brackets
Carefully position the bait prep station onto the installed mounting brackets. Pay attention to the alignment and ensure that it fits snugly onto the brackets. Slowly lower the station onto the brackets, taking care not to dislodge the sealant or adhesive.
Secure with Mounting Hardware
Once the bait prep station is correctly positioned on the mounting brackets, secure it further using the provided mounting hardware. This may include screws, nuts, or clamps. Follow the manufacturer’s instructions to ensure that the station is properly secured and tightened. This step is essential in ensuring the stability and longevity of your bait prep station.
Ensure Stability and Levelness
After attaching the bait prep station, ensure that it is stable and level on your boat’s surface. Gently test the station for any movement or wobbling to confirm its stability. Use a level to determine if any adjustments need to be made to ensure that the station sits level. This will promote proper functionality and comfort when using your bait prep station.

Connect Plumbing and Electrical Components
Install Plumbing Lines (if applicable)
If your bait prep station includes a sink and faucet, you will need to install the plumbing lines. Follow the manufacturer’s instructions to connect the water supply and drainage lines properly. Use appropriate plumbing fittings and connectors to ensure a secure and leak-free connection. Don’t forget to check for any local regulations regarding plumbing installations on boats.
Connect Sink and Faucet
Once the plumbing lines are installed, connect the sink and faucet to the respective lines. Make sure all connections are tight and secure to prevent any leaks. Test the water flow and drainage to ensure proper functionality. If you encounter any leaks or issues, make the necessary adjustments or seek professional assistance if needed.
Connect Electrical Wiring (if applicable)
If your bait prep station includes any electrical components such as lighting or power outlets, you will need to connect the electrical wiring. This may involve connecting wires to a boat’s electrical system or installing a separate power source if required. It’s crucial to follow all safety guidelines and consult a professional electrician if you are unsure about the wiring process. Testing the electrical components before finalizing the installation is essential to avoid any potential hazards.
Test for Proper Functionality
After connecting the plumbing and electrical components, test the entire bait prep station for proper functionality. Run water through the sink faucet to ensure a steady flow and proper drainage. Test any electrical components for proper operation, such as lights or power outlets. This step will help identify any issues or adjustments that need to be made before using your bait prep station in real fishing conditions.
Secure Storage Containers and Accessories
Install Tackle Box Holders
Installing tackle box holders will help keep your tackle boxes secure and organized while you’re out on the water. Many bait prep stations come with built-in tackle box holders that allow you to easily slide your tackle boxes in and out. Follow the manufacturer’s instructions to properly install these holders, making sure they are sturdy and can accommodate the size and weight of your tackle boxes.
Attach Rod Holders
Rod holders are essential for securely holding your fishing rods while you’re preparing bait or changing lures. Depending on your bait prep station’s design, it may come with pre-installed rod holders. If not, you can purchase rod holders separately and attach them to the station. Ensure that the rod holders are placed in a convenient and easily accessible location for quick access to your fishing rods.
Secure Knife Holders
Knife holders are crucial for safely storing your fishing knives when not in use. Look for bait prep stations that offer built-in knife holders or purchase knife holders separately. Install them securely on your bait prep station, ensuring that they provide a safe and stable storage solution for your knives. This will not only keep your knives within reach but also prevent any accidents or injuries caused by loose knives on your boat.
Mount Additional Storage Containers
If your bait prep station doesn’t provide enough storage space for all your fishing gear and accessories, consider mounting additional storage containers. These can be in the form of tackle box holders, baskets, or compartments that can be attached to the station. Make sure these containers are sturdy and securely attached to prevent them from coming loose during rough boating conditions.

Test and Adjust the Bait Prep Station
Operate Sink, Faucet, and Plumbing
Before heading out on your next fishing trip, thoroughly test the sink, faucet, and plumbing of your bait prep station. Turn on the faucet and check for a steady and consistent water flow. Make sure the hot and cold water functions are working correctly, and the drainage system is functioning properly. This step will help identify any issues or leaks that need to be addressed before using the station in a real fishing scenario.
Check for Leaks or Malfunctions
While operating the sink, faucet, and plumbing components, keep a close eye out for any leaks or malfunctions. Check the connections, seals, and fittings for any signs of water leakage. If you notice any leaks, tighten the connections or replace any faulty parts. It’s crucial to resolve any issues promptly to prevent water damage to your boat and ensure the longevity of your bait prep station.
Ensure Smooth Functionality
During the testing phase, assess the overall functionality and ease of use of your bait prep station. Make sure all drawers, compartments, and storage containers open and close smoothly. Check for any excessive noise or vibrations that may indicate loose or improperly installed components. Taking the time to ensure smooth functionality will enhance your experience when using the bait prep station, making your fishing trips more enjoyable.
Make Any Necessary Adjustments
If you encounter any issues or areas for improvement during the testing and adjustment phase, make the necessary adjustments promptly. This may involve tightening loose screws or bolts, repositioning storage containers, or replacing faulty components. Pay attention to any feedback you receive from using the bait prep station and make the appropriate modifications to ensure optimal performance and satisfaction.
Properly Maintain the Bait Prep Station
Regular Cleaning and Sanitizing
To keep your bait prep station in optimal condition, it’s essential to establish a regular cleaning and sanitizing routine. Clean the station after each fishing trip to remove any dirt, fish residue, or bait scraps that may have accumulated. Use a mild detergent and water solution to wipe down the station’s surfaces. Pay extra attention to the sink and faucet area, ensuring they are thoroughly cleaned and sanitized.
Inspect for Wear or Damage
Regularly inspect your bait prep station for any signs of wear or damage. Check for loose screws, hinges, or storage containers that may need tightening. Examine the plumbing lines and electrical components for signs of leakage or malfunctions. Inspecting your station on a regular basis will help identify any potential issues before they escalate, allowing you to address them promptly.
Address Repairs or Replacements Promptly
If you notice any wear or damage during your inspections, it’s crucial to address repairs or replacements promptly. Replace any worn-out components or hardware that may compromise the stability or functionality of your bait prep station. Repair or reattach any loose parts to prevent them from becoming hazards or causing further damage. Promptly addressing repairs and replacements will ensure that your bait prep station remains in top condition and continues to serve you well during your fishing adventures.
In conclusion, installing a custom bait prep station on your boat can significantly enhance your fishing experience. By following these comprehensive steps, considerations, and tips, you’ll be able to select the right station for your needs, assess the boat layout, gather the necessary tools and materials, prepare the boat, install the mounting brackets, attach the bait prep station, connect plumbing and electrical components, secure storage containers and accessories, test and adjust the station, and properly maintain it. Always prioritize safety, functionality, and ease of use when installing and using your bait prep station, ensuring many successful fishing trips in the future.


