Whether you’re a seasoned angler or just starting out, installing a trolling motor on your boat can greatly enhance your fishing experience. From quiet maneuverability to precise control, a trolling motor allows you to navigate the waters with ease and efficiency. In this article, we will guide you through the step-by-step process of installing a trolling motor on your boat, ensuring that you can enjoy a smooth and successful fishing adventure. So, grab your tools and let’s get started on transforming your boat into a fisherman’s paradise!

Tools and Materials
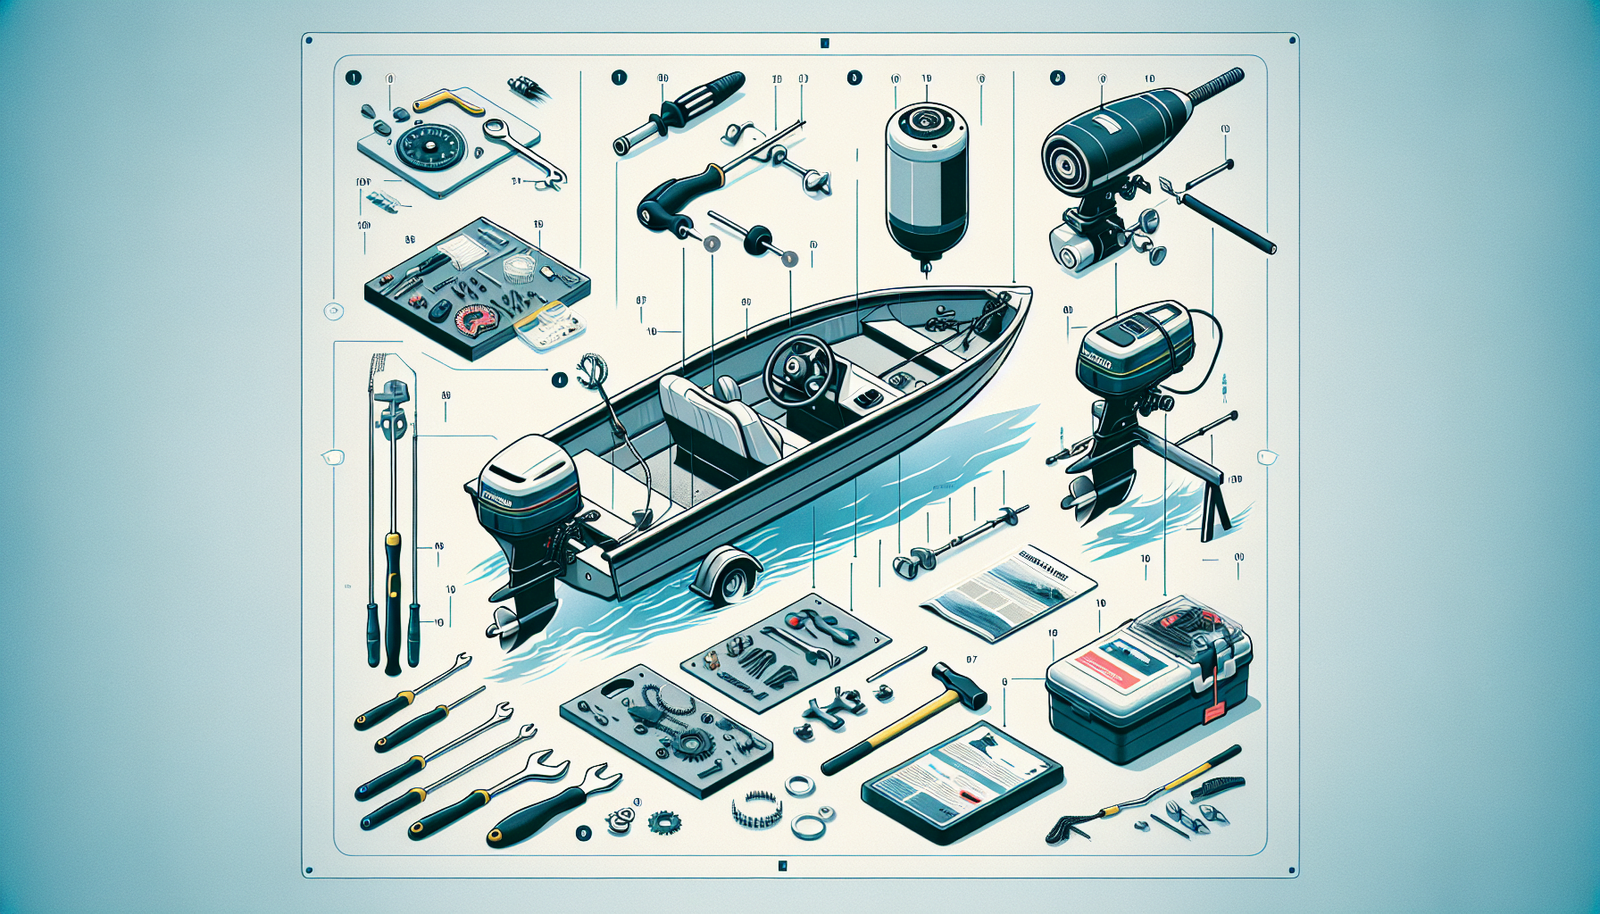
Required Tools
When it comes to installing a trolling motor on your boat, there are a few essential tools that you’ll need to have on hand. These tools will make the installation process much smoother and ensure that everything is done correctly. Some of the necessary tools include:
Screwdriver: A screwdriver is essential for attaching and securing the mounting bracket to your boat.
Wrench: Depending on the type of mounting bracket you have, you may need a wrench to tighten the bolts and ensure a secure fit.
Drill: If your boat does not already have pre-drilled holes for the mounting bracket, you’ll need a drill to create them.
Wire cutters and strippers: These tools will come in handy when preparing the wiring harness and connecting it to the battery.
Pliers: Pliers can be useful for tightening connections and ensuring a secure fit.
Required Materials
In addition to the necessary tools, there are also a few materials that you’ll need to gather before installing your trolling motor. These materials include:
Trolling motor: Of course, the most important material you’ll need is the trolling motor itself. Be sure to choose a motor that is the appropriate size and power for your specific boat.
Mounting bracket: The mounting bracket is what attaches the trolling motor to your boat. Make sure you have the correct bracket for your particular boat model.
Wiring harness: The wiring harness is responsible for connecting the trolling motor to the battery. Ensure that you have the correct wiring harness for your motor and battery setup.
Battery: A reliable and fully charged battery is essential for powering your trolling motor. Make sure you have the appropriate battery for your motor’s voltage requirements.
Mounting hardware: Depending on your boat’s construction, you may need additional mounting hardware such as screws, nuts, and bolts to secure the mounting bracket.
Now that you have all the necessary tools and materials, it’s time to start installing your trolling motor.
Choosing the Right Trolling Motor
Considerations for Trolling Motor Selection
Choosing the right trolling motor for your boat is crucial for optimal performance on the water. There are several factors to consider when selecting a trolling motor:
Boat size and weight: The size and weight of your boat will determine the amount of thrust power you’ll need from your trolling motor. It’s essential to choose a motor with enough power to effectively propel your boat.
Voltage requirements: Trolling motors come in various voltage options, such as 12V, 24V, or 36V. The voltage you choose will depend on the size and power requirements of your motor.
Freshwater vs. saltwater use: If you plan on using your trolling motor in saltwater, it’s crucial to choose a motor specifically designed for marine environments. Saltwater trolling motors have corrosion-resistant components to withstand the harsh conditions.
Control options: Trolling motors can be controlled by either a foot pedal or a remote control. Consider which option is more convenient and comfortable for you.
Determining the Motor Size
To determine the appropriate motor size for your boat, you’ll need to consider several factors. These factors include the weight of your boat, the number of people onboard, and the desired speed.
As a general rule of thumb, you’ll need approximately two pounds of thrust for every 100 pounds of weight. For example, if your boat weighs 2,000 pounds, you’ll need a trolling motor with a minimum of 40 pounds of thrust. Keep in mind that this is a minimum requirement, and it’s always better to choose a motor with slightly more thrust for better performance.
Deciding on the Mounting Location
The mounting location for your trolling motor will depend on several factors, including your boat’s design and your personal preference. Ideally, the mounting location should be both convenient and provide optimal performance.
Most boats have a bow or stern mounting location for trolling motors. The bow mount offers better control and maneuverability, especially in windy conditions. However, it may take up valuable space on the bow deck.
The stern mount, on the other hand, is more straightforward to install and doesn’t take up deck space. However, it may not provide as much control and maneuverability as a bow mount.
Consider the pros and cons of each mounting location and choose the one that best suits your needs and boat design.
Preparing the Boat
Checking the Operations Manual
Before you start the installation process, it’s crucial to familiarize yourself with your trolling motor’s operations manual. The manual will provide specific instructions and guidelines for installation, maintenance, and troubleshooting.
Read through the manual thoroughly and make sure you understand all the steps involved in installing your specific trolling motor model.
Measuring and Marking the Mounting Area
Once you’ve chosen the mounting location for your trolling motor, it’s time to measure and mark the mounting area on your boat. Use a tape measure to determine the exact position of the mounting holes.
Make sure to take into account any obstructions or oblique surfaces on your boat that may affect the placement of the mounting bracket.
Gathering Necessary Equipment
Before you begin the installation process, gather all the necessary equipment and hardware. Double-check that you have all the tools, materials, and mounting hardware required for the installation.
Having everything within reach will make the process much smoother and prevent any unnecessary delays or interruptions.
Assembling the Trolling Motor
Attaching the Mounting Bracket
To start assembling your trolling motor, you’ll first need to attach the mounting bracket to your boat. The mounting bracket should align with the marked mounting holes on your boat.
Secure the bracket using the appropriate mounting hardware. Make sure the bracket is securely attached and doesn’t have any loose or wobbly parts.
Connecting the Motor Head to the Mounting Bracket
Once the mounting bracket is securely attached, it’s time to connect the motor head to the bracket. This step may vary depending on the specific model of your trolling motor.
Refer to the operations manual for detailed instructions on how to properly connect the motor head to the mounting bracket. Make sure all the connections are secure and tight.
Securing the Motor Assembly
After connecting the motor head to the mounting bracket, you’ll need to secure the motor assembly to ensure it stays in place while in use. Follow the instructions provided in the operations manual to secure the motor assembly properly.
Make sure to perform some basic tests to ensure that the motor assembly is secure and not at risk of coming loose while you’re out on the water.

Wiring the Trolling Motor
Preparing the Wiring Harness
Before you can connect the trolling motor to the battery, you’ll need to prepare the wiring harness. This involves stripping the wire ends and connecting them to the appropriate terminals on the motor and battery.
Use wire cutters and strippers to remove the insulation from the wire ends. Refer to the operations manual for specific instructions on how to prepare the wiring harness for your motor.
Running the Wiring Through the Boat
To prevent any potential hazards or damage, it’s essential to run the wiring harness through your boat in a safe and organized manner. Avoid routing the wires near any sharp edges or moving parts that could cause abrasion or cuts.
Use zip ties or clamps to secure the wiring along the boat’s structure and prevent it from dangling or getting caught on anything.
Connecting the Wiring to the Battery
Once the wiring harness is properly routed through your boat, it’s time to connect it to the battery. Make sure to follow the specific instructions provided in the operations manual for your trolling motor and battery setup.
Take extra care to ensure proper polarity and tight connections. Loose or improperly connected wiring can cause your trolling motor to malfunction or not work at all.
Testing the Trolling Motor
Inspecting the Motor Assembly
Before taking your boat out on the water, it’s crucial to inspect the trolling motor assembly for any issues or potential problems. Check for loose connections, damaged components, or any signs of wear and tear.
Ensure that all bolts and screws are properly tightened and that the motor assembly is securely attached to the boat. Check for any unusual sounds or vibrations when running the motor.
Testing the Motor Functions
After completing the installation and inspection process, it’s time to test the motor functions. Depending on the specific features of your trolling motor, you can test different functions such as speed control, steering responsiveness, and any additional features such as GPS or sonar integration.
Pay close attention to any abnormalities or malfunctions during the testing process. If you notice any issues, consult the operations manual for troubleshooting guidance.
Troubleshooting Common Issues
If you encounter any common issues during the testing phase, here are a few troubleshooting tips:
Motor not turning on: Check the battery connections and ensure they are properly secured. Confirm that the battery is fully charged and functioning correctly.
Motor running slowly: Double-check your motor’s speed control settings and make sure they are set to the desired speed. Check the battery voltage to ensure it meets the motor’s requirements.
Motor vibrating excessively: Loose or misaligned components can cause excessive vibrations. Inspect the motor assembly for any loose parts and tighten them accordingly.
If you’re unable to resolve any issues on your own, consult a professional or contact the manufacturer for further assistance.

Maintenance and Safety Tips
Regular Cleaning and Inspection
To maintain optimal performance and extend the lifespan of your trolling motor, it’s essential to clean and inspect it regularly. Regularly remove any dirt, debris, or vegetation that may have accumulated near the propeller or motor assembly.
Inspect the motor assembly for any signs of damage or wear. Pay special attention to the propeller, as it’s a critical component of the motor’s performance. Replace any damaged or worn parts as necessary.
Checking the Battery and Connections
The battery is a vital component of your trolling motor system. Regularly check the battery’s charge level and ensure it’s fully charged before heading out on the water.
Inspect the battery connections for any signs of corrosion or looseness. Clean the connections using a wire brush and ensure they are tight and secure.
Following Safety Guidelines
When operating your trolling motor, it’s crucial to prioritize safety. Follow these safety guidelines to ensure a safe and enjoyable boating experience:
Wear a life jacket: Always wear a properly fitting life jacket while operating your boat, especially when using the trolling motor.
Be aware of your surroundings: Pay attention to other boaters, swimmers, and any potential hazards on the water.
Keep hands and fingers clear: Keep your hands and fingers away from moving parts, especially the propeller. Serious injuries can occur if you come into contact with the propeller while the motor is running.
Follow local rules and regulations: Familiarize yourself with the boating regulations in your area and abide by them at all times.
Stay weather-aware: Monitor weather conditions and avoid boating in severe weather or adverse conditions.
Additional Features and Accessories
Utilizing Sonar and GPS Integration
Many trolling motors come with additional features such as sonar and GPS integration. Sonar allows you to see underwater structures, fish, and other objects, while GPS integration provides precise navigation and waypoint tracking.
Take advantage of these features to enhance your fishing experience and make navigation easier and more efficient.
Adding a Foot Pedal or Remote Control
Trolling motors can be controlled using either a foot pedal or a remote control. Depending on your preferences and boating style, you can add either of these accessories to your trolling motor setup.
A foot pedal offers hands-free control and precise maneuverability, while a remote control allows you to operate the motor from a distance.
Consider which control option suits your needs and add the corresponding accessory to your trolling motor system.
Exploring Trolling Motor Accessories
There is a wide range of accessories available for trolling motors to enhance functionality and convenience. Some popular accessories include:
Quick-release brackets: Quick-release brackets allow for easy removal and installation of the trolling motor, making it more convenient when transitioning between fishing spots.
Battery chargers: Battery chargers ensure that your trolling motor’s battery is always fully charged and ready for use.
Propeller guards: Propeller guards protect the propeller from damage caused by debris or accidental impacts.
Trolling motor stabilizers: These accessories provide additional stability for your trolling motor, reducing vibrations and enhancing performance.
Explore the various accessories available and choose the ones that best suit your boating and fishing needs.

Maintaining Optimal Performance
Understanding Battery Maintenance
Proper battery maintenance is essential for maintaining optimal performance and prolonging the lifespan of your trolling motor. Here are a few tips for battery maintenance:
Regularly clean the battery terminals: Clean the battery terminals using a mixture of baking soda and water. Scrub the terminals with a wire brush to remove any corrosion or buildup.
Keep the battery charged: Ensure that your battery is always charged and avoid completely discharging it whenever possible. Proper battery charging will not only maximize performance but also extend its lifespan.
Store the battery properly: If you’re not using your boat and trolling motor for an extended period, make sure to remove the battery and store it in a cool, dry place. Extreme temperatures can damage the battery.
Proper Propeller Care
The propeller is a critical component of your trolling motor, and taking care of it is essential for optimal performance. Here are a few tips for propeller care:
Regularly inspect the propeller for damage: Look for any signs of wear, dents, or bent blades. Replace a damaged propeller to ensure smooth and efficient operation.
Clean the propeller after each use: Remove any vegetation, fishing line, or debris that may have become entangled in the propeller. This will prevent damage and maintain performance.
Lubricate the propeller shaft: Apply a small amount of marine grease to the propeller shaft to reduce friction and ensure smooth rotation.
Identifying and Fixing Common Motor Issues
Even with regular maintenance, it’s possible to encounter some common issues with your trolling motor. Here are a few common problems and their possible solutions:
Motor overheating: Check for any obstructions around the motor head that may be restricting airflow. Clean any debris or vegetation that may be blocking the cooling vents.
Motor not running smoothly: Inspect the propeller for damage or debris. Clean or replace the propeller if necessary. Ensure that the mounting bracket and motor head are securely tightened.
Electrical issues: Examine the wiring connections for any loose or corroded terminals. Tighten and clean the connections as necessary. Check for any damaged wiring and repair or replace it if needed.
If you encounter any motor issues that you’re unable to resolve on your own, consult a professional or contact the manufacturer for assistance.
Frequently Asked Questions
What is the ideal thrust power for my boat?
The ideal thrust power for your boat depends on several factors, including the size and weight of your boat. As a general guideline, you’ll need approximately two pounds of thrust for every 100 pounds of weight. However, it’s always recommended to choose a trolling motor with slightly more thrust for better performance.
Can I install a trolling motor on any boat?
While trolling motors can be installed on many boats, there are some boat types and designs that may not be suitable for trolling motor installation. It’s crucial to consider your boat’s construction and consult the manufacturer’s guidelines to determine if your boat is compatible with a trolling motor.
How long should the wiring be for my boat?
The length of the wiring harness will depend on the size and layout of your boat. It’s crucial to measure the distance between the trolling motor and the battery to determine the appropriate length. It’s generally better to have a slightly longer wiring harness to allow for flexibility and ease of installation.
