Every self-sufficient boat owner knows the vital importance of maintaining the health of their boat’s engine – and at the heart of that engine is the unsung hero: the fuel filter. By learning ‘How To Properly Clean and Store Boat Engine Fuel Filters’, you will ensure smooth sailing and extend the longevity of your boat’s engine. This article will teach you step-by-step the best practices for cleaning and storing the engine fuel filters of your boat. Stripping it down to the basics, making it easy to understand for both rookies and seasoned sailors, you won’t need to worry about clogged filters and sputtering engines again.

Understanding the Importance of Fuel Filters
There are various components in a boat engine and fuel filters serve a critical role among them. A fuel filter is like the guard at the gate, ensuring that your engine runs smoothly and optimally. It protects your engine by screening out dirt, rust, and other foreign particles that might find their way into the fuel line.
Role of fuel filters in a boat engine
Think of fuel filters as the bouncer at your engine’s exclusive club, allowing only the purity-tested gasoline through and turning away any potential party crashers in the form of dirt or debris. They are essential for the longevity of your boat’s engine, maintaining its efficiency, and preventing unwarranted damage.
Effects of dirt and debris on fuel filters
Remember, gas stations and fuel tanks aren’t always as clean as we’d want them to be. Dirt, dust, rust, and sometimes even broken bits of the fuel pump can mix with your fuel. When these contaminants gather in your fuel filter, they clog it up. A clogged filter can trigger a range of issues from halting the engine function to damaging internal components, resulting in costly repairs.
Impact of a clean fuel filter on engine performance
A clean fuel filter ensures that your engine receives only clean, debris-free fuel. This enhances the engine’s performance by ensuring efficient combustion and prevents unwanted wear and tear. It improves your boat’s power, fuel efficiency, and overall life span of your boat’s engine.
Inspecting the Fuel Filter
Learning to inspect your boat’s fuel filters can save you from being stranded out on the water. You’ll know when it’s time to get them cleaned or replaced, saving you time, money, and possible engine issues.
Determining when to clean fuel filters
Exactly when to clean a fuel filter can depend on the type of boat engine, how often and in what conditions it’s operated. However, as a general rule of thumb, a visual inspection every 50 hours of engine operation is suggested.
Identifying signs of a clogged or dirty fuel filter
Signs of a clogged or dirty fuel filter can range from the subtle to the obvious. Drop in engine power, trouble starting the engine, erratic performance at high speeds, or even the engine sputtering to a stop can indicate a blockage in your fuel filter.
Safety precautions to take when inspecting fuel filters
When doing your own inspection, remember, safety comes first. Make sure the engine is off and cool to the touch. Also, use a flashlight instead of any open flame as a light source to avoid accidental ignition of fuel.
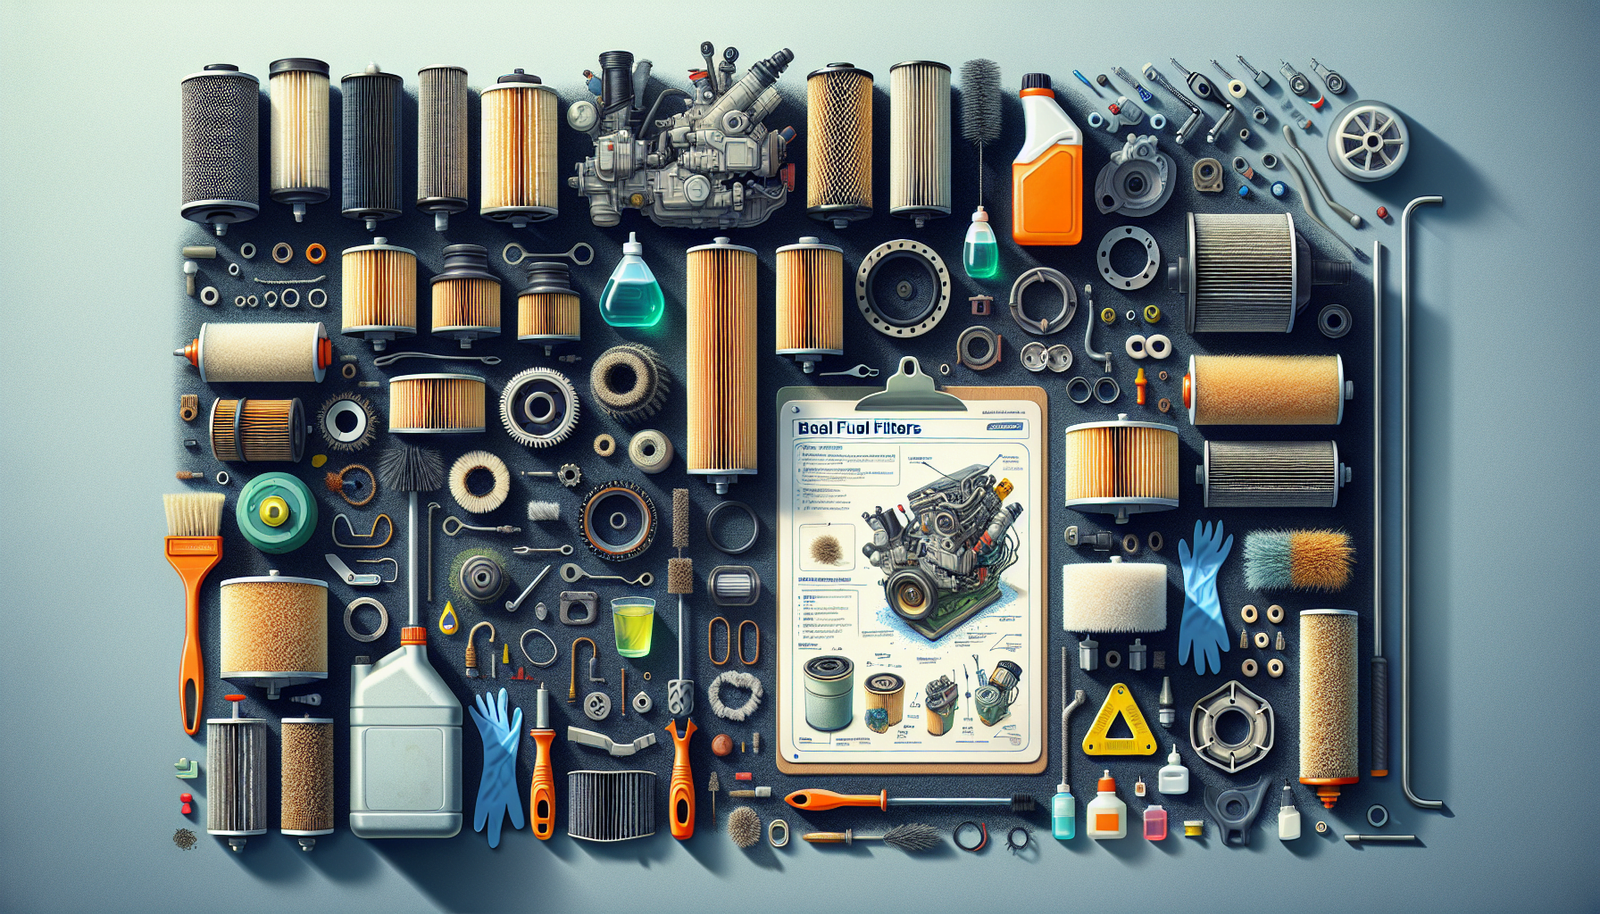
Gathering Necessary Cleaning Supplies
Deep cleaning a fuel filter is akin to performing surgery. You’re going to need the right tools and materials to do the job correctly and safely.
List of tools and materials necessary for cleaning
Essential tools for cleaning a fuel filter include a wrench or socket set, rubber gloves, eye protection, compressed air, and a clean, lint-free rag or cloth.
Choosing the right cleaning solutions
It’s best to stick with a commercially available carburetor or fuel injection cleaner. These are specifically designed to break down and remove the contaminants normally found in fuel systems. Home remedies or dubious hacks might cause more harm than good.
Safety gears to use during cleaning
Remember, you’re dealing with highly flammable liquids and fumes here. Always use gloves and eye protection. Also, make sure to work in a well-ventilated area, away from open flames and sparks.
Removing the Fuel Filter for Cleaning
Part of maintaining your fuel filters is sometimes removing and cleaning them. It’s a simple enough task if approached correctly and carefully.
Step-by-step process of fuel filter removal
To remove the fuel filter, first, you’ll need to locate it. Once located, use your wrench or socket set to gently disconnect it from the fuel line on either side. Make sure that you have a container or rag ready to catch any fuel that may spill out.
Considerations when detaching fuel filters
Before you start unscrewing and pulling, remember that these are delicate components. Too much force can damage the filter or fuel lines, leading to leaks or breakage.
Tips to prevent fuel spillage during removal
Before removing the filter, it’s a good idea to depressurize the fuel system. You can do this by removing the fuel pump fuse and running the engine until it dies. Be ready with a container to catch any residual fuel still in the filter.

Cleaning the Fuel Filter
Once you’ve successfully removed the fuel filter, it’s time for its much-needed clean up.
Steps in cleaning the fuel filter
Place the filter in a bowl of your chosen cleaning solution and let it soak for a few minutes. After soaking, use compressed air to blow out the contaminants from the inside out. Repeat the process if necessary until the filter is completely clean.
Techniques to effectively remove dirt and debris
Remember, when using compressed air, always blow from the inside out. This way, you’re pushing the dirt and debris out the direction they came in, instead of further into the filter.
Ensuring all components are thoroughly cleaned
If your filter has a detachable outer screen, remove it to clean separately. Make sure all parts are fully dry before reassembly.
Rinsing and Drying the Fuel Filter
Once the cleaning is done, rinse and dry components efficiently to avoid potential damage.
Proper way of rinsing off cleaning solutions
Rinse the fuel filter with clean, unsoiled gasoline. Rinse all parts thoroughly to ensure all cleaning solution residues are fully removed.
How to dry fuel filter components
Once rinsed, use compressed air once more to dry the filter. Ensure it’s completely dry before reinstalling to prevent moisture from entering your fuel system.
Ensuring no traces of moisture before reinstallation
Look closely, and feel with your hands to make sure there are no traces of moisture around the fuel filter. Even a tiny bit of moisture can potentially result in further contamination.
Reinstalling the Fuel Filter
Cleaning and drying your boat’s fuel filters are only half the work. Now you have to put it back where it belongs.
Procedure for successful fuel filter reinstallation
Reinstallation is usually just a reversal of the removal. Reattach the fuel filter to its appropriate position in the fuel line, and secure it firmly with your wrench or socket set.
Checking for secure and proper fit
Check to make sure all pipe nuts, fittings, and connections are tightened correctly. A properly fitted fuel filter should remain in place without stressing the fuel lines or hoses.
Troubleshooting tips for installation challenges
Face any problems while reinstalling? Try rotating the filter a bit, to align it correctly. You may also need to replace worn-out rubber seals or gaskets.
Testing the Boat Engine After Reinstallation
Alright, the fuel filter is in place. Now, to fire up the engine for a little test drive.
How to perform an engine test after fuel filter cleaning
Simply start your boat’s engine and see how it performs. Make sure to check for any leaking fuel in and around the fuel filter area.
Signs of successful fuel filter cleaning
Your engine should start easily and run smoothly. That’s a good sign that your fuel filter cleaning was successful.
What to do if engine problems persist after cleaning
If the engine still sputters or refuses to start, the problem may lie elsewhere. It could be an issue with the fuel pump, injectors, or even the spark plugs.
Storing Cleaned and Spare Fuel Filters
Every responsible boat owner should have a couple of spare fuel filters on hand. And you’ll also need to store your recently-cleaned fuel filter if it’s not reinstalling immediately.
Recommended ways to store fuel filters
To avoid any possible contamination, always store fuel filters in a cool, dry place. If possible, wrap them in plastic.
Tips to prevent damage during storage
Never stack anything heavy on top of your fuel filters. Also, avoid exposing them to direct sunlight, moisture, or extreme temperature changes.
Importance of having spare fuel filters
A spare filter is a lifesaver when you’re on the water and your engine starts acting up. Simply swapping your dirty filter with a clean one can get you back and running in no time.
Maintaining Fuel Filters
Lastly, let’s talk about maintenance. Pure, clean fuel is the key to a healthy boat engine, and your fuel filter is the guardian of that purity.
Regular maintenance schedule for fuel filters
Regular maintenance should include checking and cleaning your fuel filters every 50 to 100 hours of engine operation. Of course, if you suspect a clog or damming, check it immediately.
Best practices to prolong fuel filter lifespan
Preventative actions like frequent inspection, timely cleaning, and proper storage can prolong your fuel filter lifespan.
Dealing with common fuel filter issues
Clogs and leaks are common fuel filter issues. A clogged filter can be cleaned, but if cleaning doesn’t resolve the issue, you may need to replace it. For leaks, check and replace any damaged seals or connections.