Are you a boat enthusiast looking to maintain your beloved vessel in shipshape? It’s time to acquire a new skill – testing your boat engine’s charging system. Sail on to understand the detailed steps that will guide you through the process of assessing if your charging system is on par. From inspecting the voltage regulator to evaluating your alternator’s health, this article arms you with the knowledge to keep your boat engine’s charging system in peak condition. So, ready your multimeter and prepare to enrich your expertise!

Understanding The Boat Engine’s Charging System
The charging system of your boat engine is an important aspect of its overall operation. Without it, your boat wouldn’t be able to function effectively during your ocean adventures.
Identifying major parts of the system
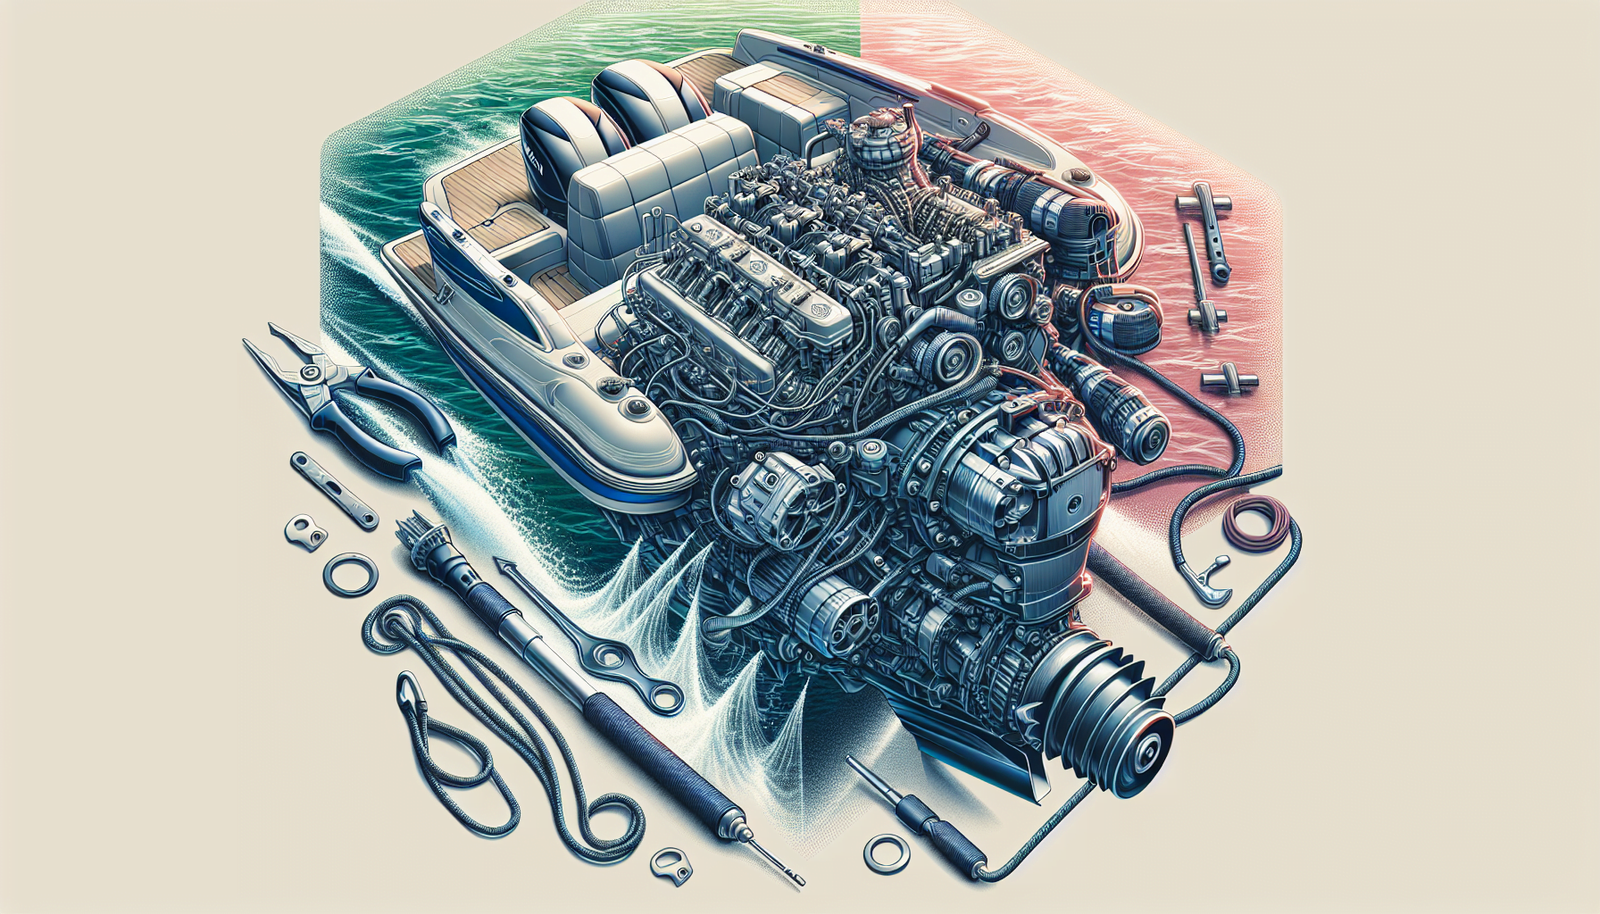
Your boat’s charging system consists of various parts. The major components include the battery, alternator, voltage regulator, and various connections and wires. Mastering each part and their roles in the entire setup is crucial in understanding how the charging system works in your boat.
Importance of a well-functioning charging system
A well-functioning charging system is integral to a boat’s operation. The charging system powers everything from the ignition system to the boat’s electrical devices. If the charging system is faulty, it might leave you stranded at sea or damage the electrical components in your boat.
How the charging system works
The charging system works by converting mechanical energy from the rotating engine into electrical energy to recharge the battery and power electrical systems. The alternator produces this power, the voltage regulator then manages the power produced by the alternator to ensure the battery is not overcharged or undercharged.
Tools Needed for Charging System Test
In order to carry out a charging system test, you need a collection of tools.
List of essential tools
Some essential tools include a multimeter, a battery load tester, a set of wrenches, and a battery post cleaner wire brush. You might also need an engine analyzer, if more inspection is required.
Understanding their uses
Each tool has a specific role. A multimeter, for example, can measure voltage and check if the battery is holding a charge. A load tester can check the battery’s health by applying a load and measuring how well it can sustain that load.
Where to obtain these tools
These tools can be purchased from any hardware store, marine suppliers, or online retailers. Make sure you have the right tools before starting the charging system test.
Checking The Battery
The battery is the heart of your boat’s charging system.
Assessing the physical appearance
Before starting any tests, visually inspect the battery for any signs of physical damage such as leaks, cracks, or corrosion. These issues could affect the battery’s performance.
Checking for full charge
Check if the battery is fully charged. If it’s less than 12.6 volts, it needs to be charged before a valid test can be performed.
Using a multimeter to check voltage
Use a multimeter to accurately check the voltage. Touch the negative probe to the negative terminal and the positive probe to the positive terminal. A reading below 12.6 volts indicates that the battery is not fully charged.

Performing A Voltage Drop Test
Conducting a voltage drop test helps to assess the voltage loss in the circuit.
Steps for performing voltage drop test
To perform the test, connect the multimeter between the positive terminal of the battery and the positive terminal of the alternator. Do the same for the negative terminals. The voltage drop should not be more than 0.5 volts.
Interpreting the results
If you find a voltage drop exceeding 0.5 volts, it suggests a problem. A large voltage drop could be a sign of a poor connection or damaged wire in the circuit.
Potential issues flagged by a voltage drop test
A voltage drop test can flag potential issues such as a bad connection, damaged wire, or a faulty component that could be causing resistance in the charging system.
Examining The Alternator
The alternator plays a crucial role in your boat’s charging system.
How to locate the alternator
The alternator will usually be found at the front of the engine. It’s a sizable component with a belt wrapped around a pulley.
Inspecting the alternator by sight
Visually inspect the alternator for any noticeable damage, missing or loose connections and ensure the belt is not worn or loose.
Testing the alternator using tools
To test the alternator, start the engine and run at idle. Use a multimeter to measure the voltage at the battery terminals. The reading should be between 13 – 14.5 volts. If the voltage is too high or too low, it might indicate a problem.
Reviewing The Voltage Regulator
The voltage regulator ensures that the battery is neither overcharged nor undercharged.
Locating the voltage regulator
The voltage regulator is typically positioned near the alternator.
Visual inspection of the regulator
Inspect the voltage regulator for any signs of damage, heat discoloration, or loose connections which could indicate overheating.
Understanding the regulator’s role in the charging system
The voltage regulator plays a crucial role in controlling the amount of voltage that is sent to the battery. It ensures the battery is charged at an optimal level to prevent damage to the battery and other electrical components.
Conducting An Output Test
An output test helps measure the alternator’s ability to produce electricity.
Preparing for an output test
Before doing an output test, ensure the battery is fully charged and properly connected. Also, make sure the engine in your boat is warm.
Executing the output test
To perform the output test, connect the multimeter to the battery and run the engine at a fast idle. The reading on your multimeter should show a steady voltage between 13.0 and 14.5 volts.
Understanding the output test results
If your multimeter displays a stable voltage within this range, it means your alternator is doing a good job. If the voltage is lower or higher, the alternator or voltage regulator might be faulty.
Inspecting The Charging System Connections
Ensuring proper charging system connections is critical for the successful operation of your boat’s charging system.
Identifying the connections
The key connections in the charging system include those on the battery, alternator, voltage regulator, and those running to the electrical systems in the boat.
Checking for corrosion or loose connections
Corrosion and loose connections are common problems in the charging system. Check and clean all connections and make sure all are tight.
Importance of good connections in the charging system
Good connections ensure efficient energy transfer in your charging system and thus maximum performance of the system.
Observing the Serpentine Belt
The serpentine belt is part of your boat’s charging system that drives the alternator.
Finding the serpentine belt
Locate the serpentine belt in the front of your engine. It is the long belt that winds around several different pulleys.
Assessing serpentine belt condition
Inspect the belt for any cracks, tears or signs of wear. These are potential signs of a bad belt that might need to be replaced.
Identifying symptoms of a problematic serpentine belt
If your serpentine belt is problematic, you may notice a squealing noise, your battery not charging, or poor engine performance. If ignored, it could lead to engine overheating and charging system failure.
Maintaining Your Boat Engine’s Charging System
Proper maintenance guarantees reliable performance of your boat’s charging system.
Basic upkeep steps
Basic maintenance includes regular inspections for wear and tear on the alternator and belts, ensuring proper voltage levels, and cleaning terminals and tightening connections.
The importance of routine maintenance
Regular maintenance can help spot potential issues before they become serious problems. This can save you time and money on repairs and extend the life of your boat.
Long term care for a healthy charging system
Long term care involves periodically evaluating the overall charging system, ensuring the battery is properly maintained, keeping the engine clean and protected from elements, and conducting visual checks for any signs of damage.
Maintaining your boat’s charging system is as important as servicing the engine. By following these steps, you can keep your boat’s charging system in prime condition, ensuring your nautical adventures are smooth and trouble-free.